*Update – We’ve now painted our second house with lime wash. Read the detailed tutorial here **
Never paint brick.
I remember a neighbor growing up who painted their brick house, and my parents always lamented the color when we drove by.
“You never paint brick…” They would say.
And it’s sort of true. Paint on brick can inhibit its ability to breathe, which exterior brick needs to do.
So for a long time, I too was a “Never paint brick” believer.
And then we bought a 1950s brick ranch… And I HATED the red brick! I also wasn’t crazy about mixed materials on the front – brick and the siding addition. If it were all one color, I felt like it would make the house look cohesive and bigger. I began my painted brick ranch house journey.
painted brick ranch house ideas
There had to be a product out there that would enable me to get rid of this ugly red brick.
And sure enough, after a quick Google search, I came across Romabio limewash.
Romabio has cracked the case on painted brick. Their limewash formula adheres to the brick while still allowing it to breathe.
In fact, this is the same limewashing formula they use in Europe to achieve those beautifully chippy countryside homes.
Romabio’s Limewash and Slurry paints offer two distinct approaches to painting your brick house, but they differ significantly in their composition, application, and finish.
**Limewash** is a traditional, natural finish made from slaked lime and natural pigments. It’s designed to be applied directly to porous masonry surfaces like brick, stone, or stucco, allowing the wall to breathe while providing a rich, matte finish. This is very important – as you don’t want to paint your house with regular paint and inhibit the brick’s ability to breathe.
Limewash is highly breathable, making it ideal for historic or older buildings where moisture needs to escape to prevent damage. BUT – Over time, it naturally ages and may develop a beautiful patina, which is part of its charm. It achieves that chippy look overtime, or with the proper technique, can be created on its first application.
Limewash can be applied in multiple layers for a more vibrant or opaque look, and it creates a smooth, velvety finish that gives a soft, aged appearance.
**Slurry paint**, on the other hand, is a more robust, textured product designed to provide a thicker coat of coverage. It’s a blend of lime, water, and other minerals, making it more durable and weather-resistant than standard limewash. It’s a similar look plaster or stucco homes, in my opinion. Slurry is ideal for exterior surfaces that require additional protection from harsh weather conditions or for surfaces that may be less porous, OR you might just prefer the look.
When applied, slurry paints create a slightly rougher, more textured finish compared to limewash, which can add depth and character to the surface. Slurry paints are particularly useful for walls that are exposed to more wear and tear, providing a longer-lasting protective layer while maintaining the breathable qualities of lime.
For this project (I’ve now limewashed two houses), I ended up limewashing our brick ranch with Avorio White and it turned out BEAUTIFULLY. This is it with one coat. You can see the red brick underneath it a bit more than I liked, so I ended up doing a second, thicker coat. Some of you might like this look or even desire the chippy look.
To achieve a chippy lime wash look, you can apply it like this and then take a hose and shoot it in quick jolts to wash away a bit of the lime wash. I would definitely practice this technique before attempting it on a larger scale, as water will wash away ALL of the lime wash if you’re not too careful before it’s dried.
One coat of lime wash on our brick ranch
Here you can see the creaminess of the Avorio White compared to our stark white gutter and windows
After two coats, we also added these blue-grey affordable shutters and a whole lot of landscaping. This was in the early Fall of 2021, right before we decided to list our house for another brick house.
![]()
But since then, we’ve recently moved into a new brick home and its backyard sun porch remains untouched. The red brick and the red floor was all just too much red to me. And let’s face it, painting the brick is a lot cheaper than installing new flooring.
Limewashing An Interior Brick Wall
So today, I’m going to talk about our new house and the sun porch that I painted.
![]()
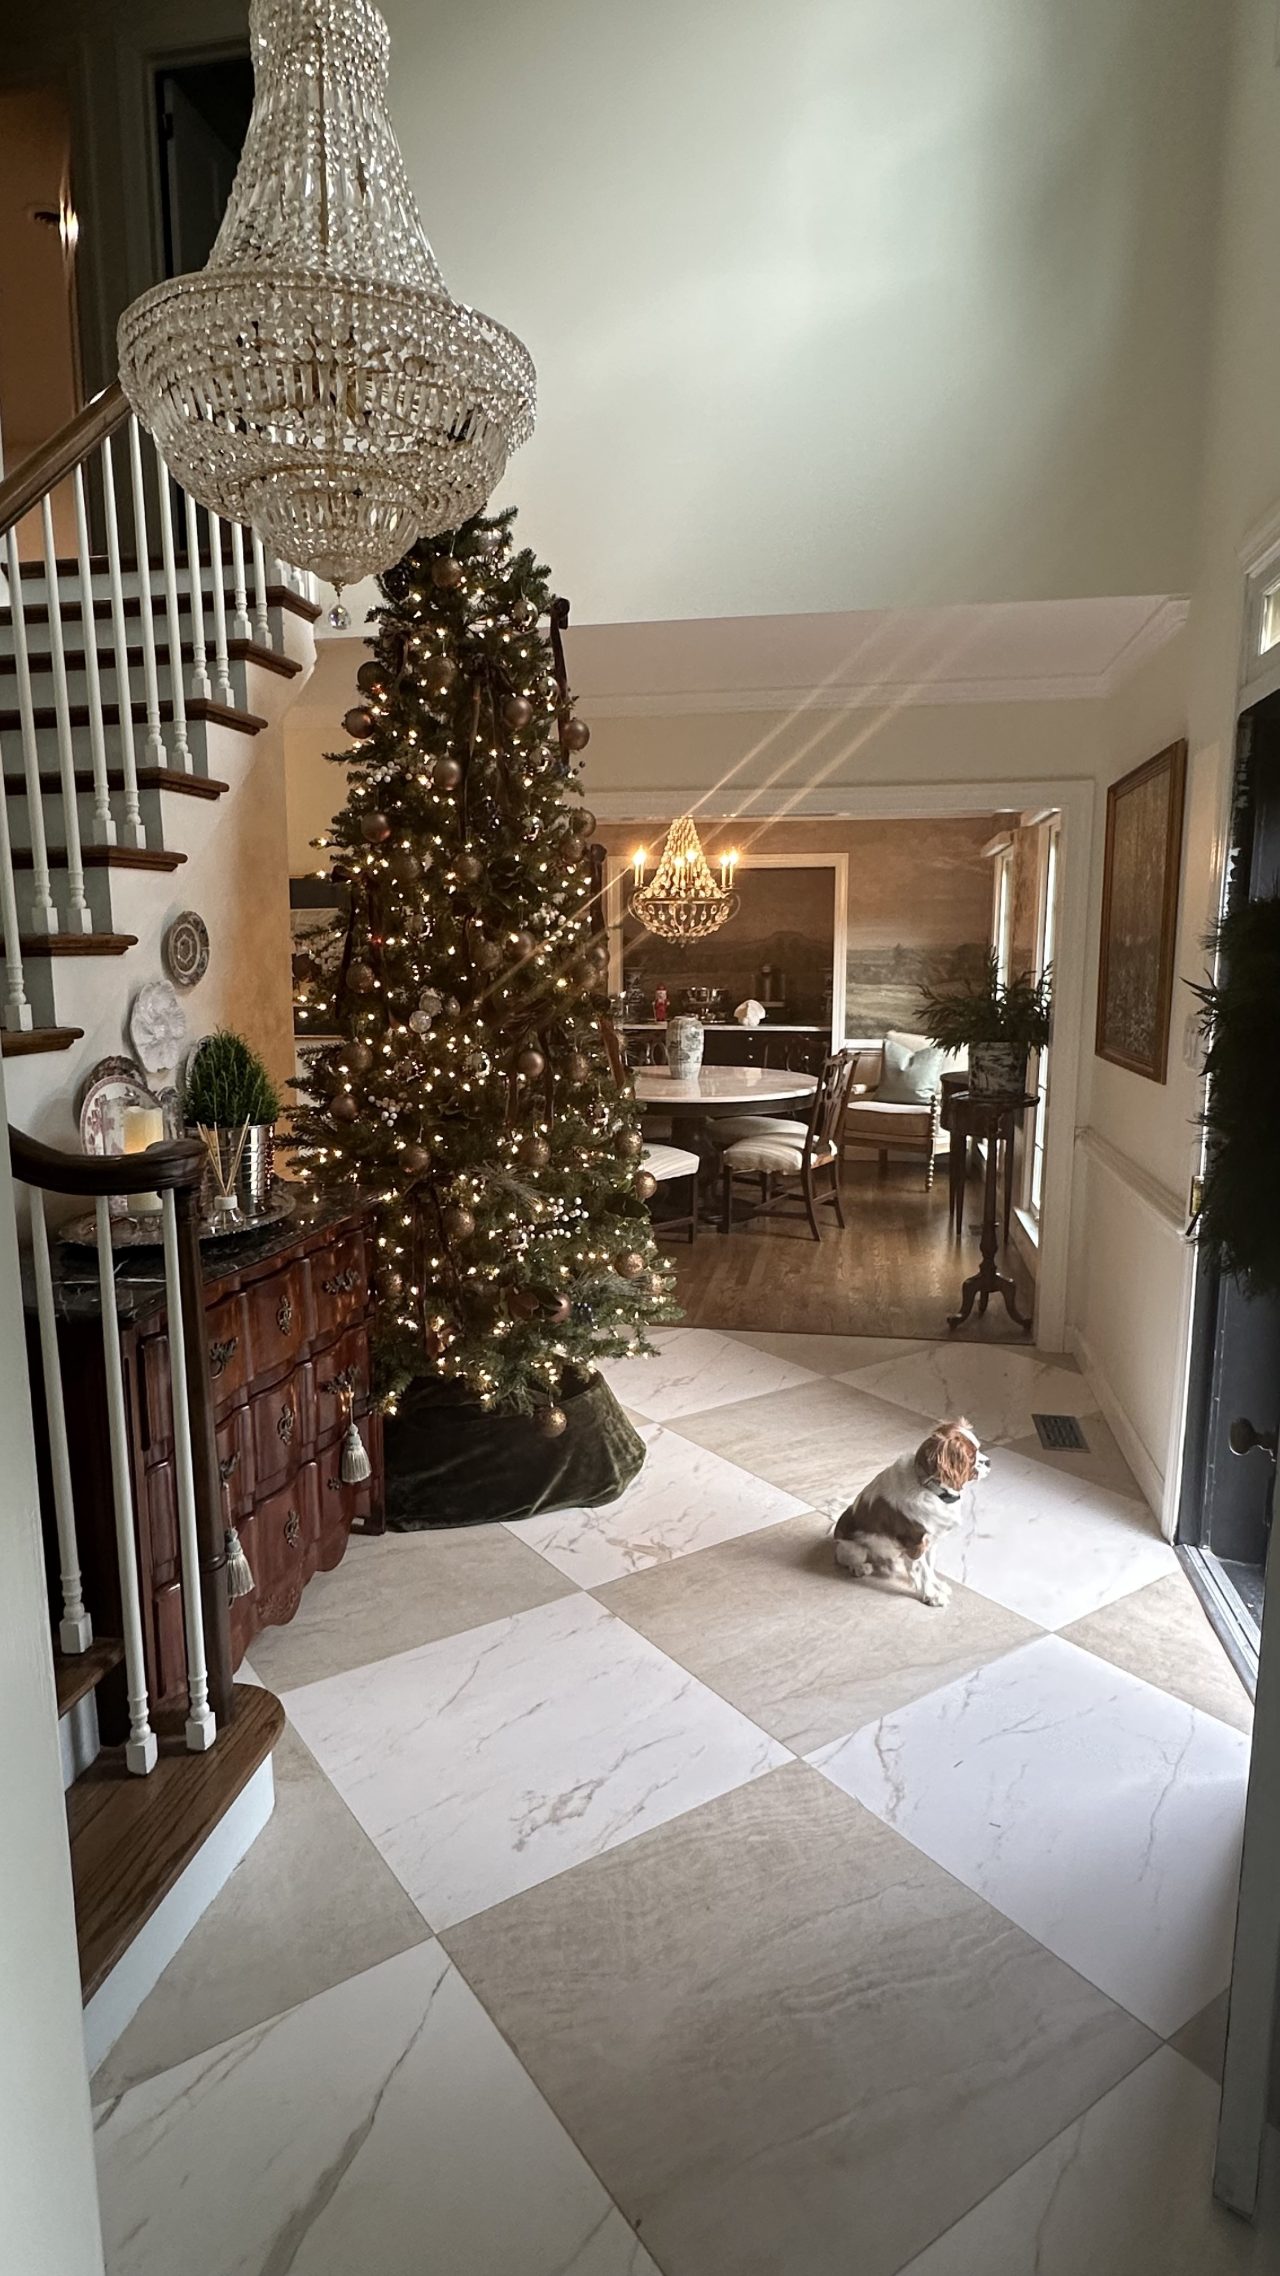
Our first showing of the house.
For those of you who have an interior brick wall or even a fireplace, you may be considering painting it. I’m going to show you how to use lime wash on an interior wall, what it looks like going on, and what you can expect from it.
Choosing Your Limewash Color For Your Brick
For this house, I wanted a color that would be a creamier white so that our trim would still pop. I looked at Romabio’s Instagram account and their photo tags to see if there was something that would fit the bill.
That’s when I came across their color Cristallo White. It fit the creamy white description I wanted. I only ordered a quart of it since this room only has one large brick wall. It took a few days to arrive.
For those of you debating, Avorio White on our old house was also a creamier white but it was slightly brighter. Our white trim sort of got lost in it.
How to Use Romabio Limewash
For the quart size, you’ll need to mix their product in a large bucket with about 1/2-3/4 of a quart of water. That’s about 16 oz. I filled up an old 20 oz. Gatorade bottle and poured almost all of it into there. This part is key. Be sure not to over-dilute it or else you’ll need to apply several coats to get a more opaque look. Then again, if you’re wanting a limewashed, transparent look, maybe test out the consistency with a little bit of paint and water first.
I attached a paddle to our drill to make this part easier, but you can also stir it with a paint stirrer.
What Tools Do You Need to Limewash Brick

Left to Right – Romabio quart, drill with paint mixer attachment, and my bucket for the paint. Not pictured – a bucket of water, my sponge, and the Masonry paint brush.
When I painted our former house, I did it all by hand with one of these masonry paint brushes. The bristles are long and soft, so they reach into all the nooks and crannies that brick has. You can also use a sprayer, which I’m tempted to do if we paint the exterior of this house.
You’ll also want a spray bottle of clean water on hand, which I didn’t have that day. Instead, I used a bucket of water and a large sponge we bought for grouting tile. You’ll need to wet your brick before you apply the limewash. It should be damp but not soaking wet. If you’re painting an exterior, you can use your hose to wet the brick.
How to Apply Limewash to Brick
Limewash is a lot runnier than traditional paint. After all, you just mixed water into it, so expect more drips than usual. I used a drop cloth beneath me for the interior brick, and if you’re painting your exterior, it’s a good idea to cover your shrubs.
Go ahead and tape off your trim, windows, and baseboards too. I find this brand of tape sticks the best.
Wet your sponge in a bucket of clean water, ring it out, and apply it to an area of brick that’s about 3 feet by 3 feet. I find working in small-ish sections is best, as you want your brick to still be somewhat wet when you apply your lime wash.
After wetting your brick, simply dip your masonry brush into the bucket of limewash and tap off any excess.
While I’m not sure what Romabio or the professionals do, I apply mine in both a vertical and horizontal swipe because brick – and especially grout – has a lot of crevices. You’re going to work it into the brick.
![]()
Left – Drying Right – Newly applied, wet. You can see the color difference once it dries
When I feel like an area is reaching the level of coating I want, I do one last swipe horizontally so that the entire brick is covered in a consistent way.
How to Get the Limewashed Look of Aged Brick
Limewash can be easily removed to achieve a more weathered look. With your spray bottle, you can spray and remove as much of it as you’d like. While I didn’t do that, it’s nice to know that that’s an option – especially if you’re testing colors or having brick painter’s remorse!
![]()
Painting in progress shot. This is what it looks like wet.
I will say, when I was painting this room, I thought I was doing a pretty good job of covering it almost completely. But the next morning when I let it all completely dry, it looked a lot more aged, spotty and “chippy.” I may go back and do a second coat (my old house also took two coats to achieve the look I wanted).
I may look into Romabio’s “Masonry Flat” colors since I’m not really going for a weathered look. But, it’s nice to have the option of going solid or chippy with the limewash.
Ta da! Here’s my after. I may still go back for another coat, but while I wait for another quart to get here, I think I’ll enjoy this more weathered look!

![]()
Brick sun porch painted with Romabio limewash
![]()
It looks a lot whiter here than it really is
What do you think? Are you debating painting your brick too?
We ended up lime washing the exterior of this house as well! To read about limewashing a two-story house, read this blog post.
Tutorial – How to Limewash Brick – Step by Step instructions for limewashing your two story house