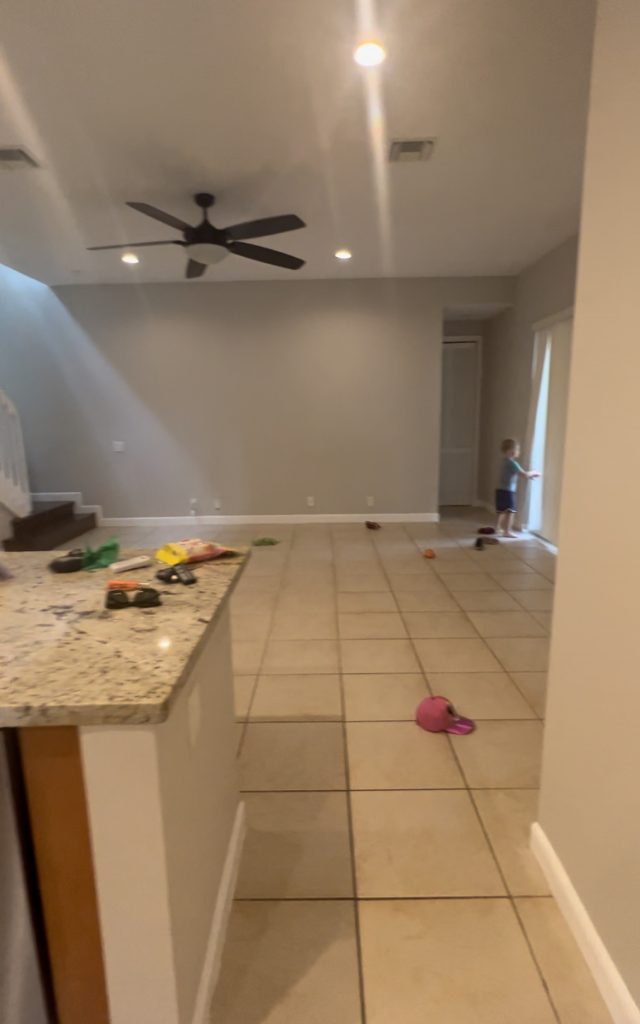
When we moved into this house, we really were facing completely blank rooms. A lot of the rooms didn’t have any overhead lighting, and none of the rooms had built-ins or shelves.
Our family room in particular had a giant blank wall that we wanted to mount our TV on, but with just a TV on the wall, it looked a little bare.
We came up with the idea to build some DIY built in bookshelves on that wall, adding the storage and visual interest that our house needed.
We didn’t want to build the cabinets from scratch, so I searched online for bookcases and cabinets that we could Frankenstein together. At first, I considered buying lower cabinets from Home Depot. That could be a cost-effective way to build the cabinet foundation, but then I came across these TV consoles that had rattan doors, and I was in love.
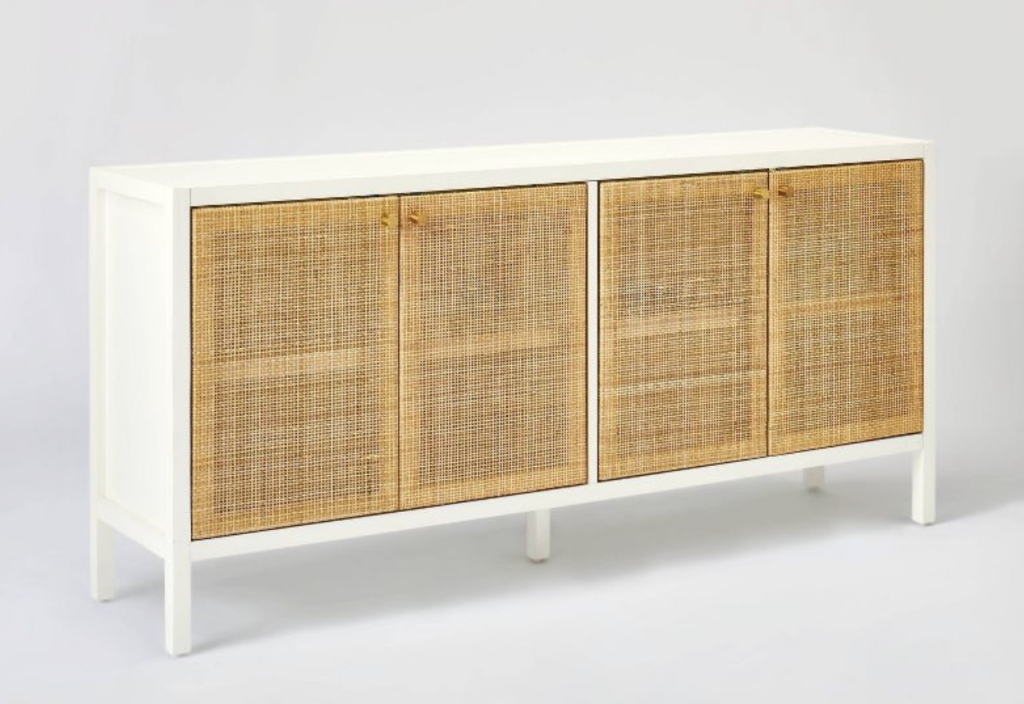
At the time, only the black were in stock, so we painted them white.
If we pushed two of them together, they could become our base.
Now for the bookcases…
We were familiar with the IKEA Billy bookcases and wondered if they would be big enough to stack on top of the TV consoles. Turns out – they were! But they would leave a bit of a gap between the top of the bookcase and the ceiling.
Don’t have an IKEA near you? These bookcases look very similar.
Fortunately, IKEA sells a Billy Bookcase extender that fit with just a few inches to spare – Perfect! Looks like we could IKEA hack the built ins.

Step One – Assemble the TV Cabinets
These TV cabinets were originally black with a bit of a shiny finish, so Mike started by assembling the cabinets and then giving them a bit of a sanding to scuff off that shine.
Then he primed them and brought them inside.
Step 2 – Trim Out the Bottom for a Built-In Look
We wanted to cover the legs of the TV consoles so that it didn’t just look like a TV console at the bottom. Mike built this frame under the consoles. At this point, we were also considering adding a countertop to it, so we also wanted that extra support.
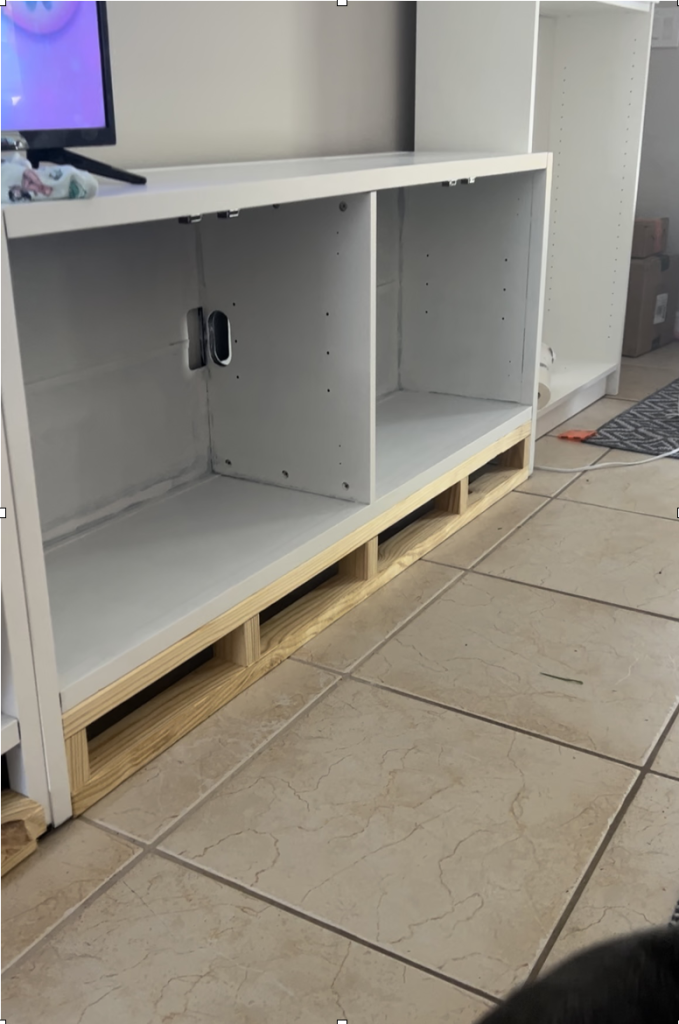
This frame also serves as the place to nail your baseboard into.
We also added a small trim board on the front to cover the tiny gap between the two consoles.
Step 3 – Add the Billy Bookcases on Top
After assembling the Billy bookcases, we added them on top of the TV consoles. We anchored each bookcase to the studs in the wall.
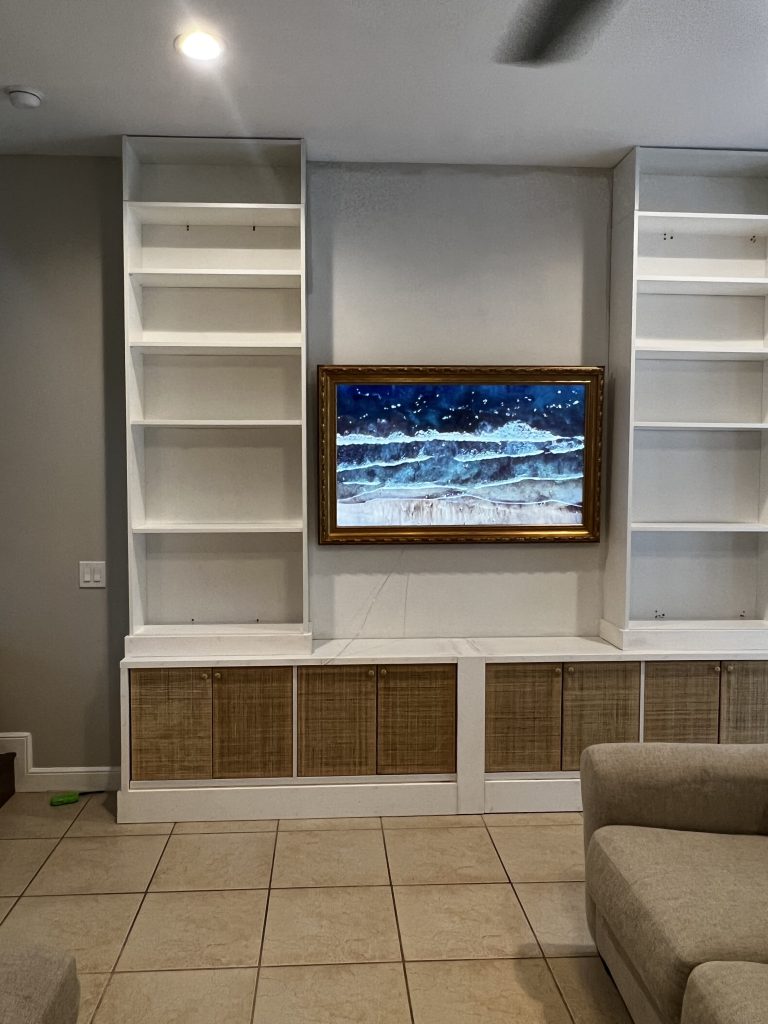
Step 4 – Attach the Billy Bookcase Extenders
We assembled the extenders and attached them to the top of the Billy bookcases. You can see how this brought the up a lot closer to the ceiling. Mike then added some moulding to the top to complete the look.
Step 5 – Build a Center Shelf
I felt like the two bookcases needed to connect a bit to make the look more built-in, so we connected them with a shelf. To do that, we first trimmed out the insides of the bookcases (that face the middle where the TV was going). This not only added a more finished look, but it also served as a cleat for the top shelf.
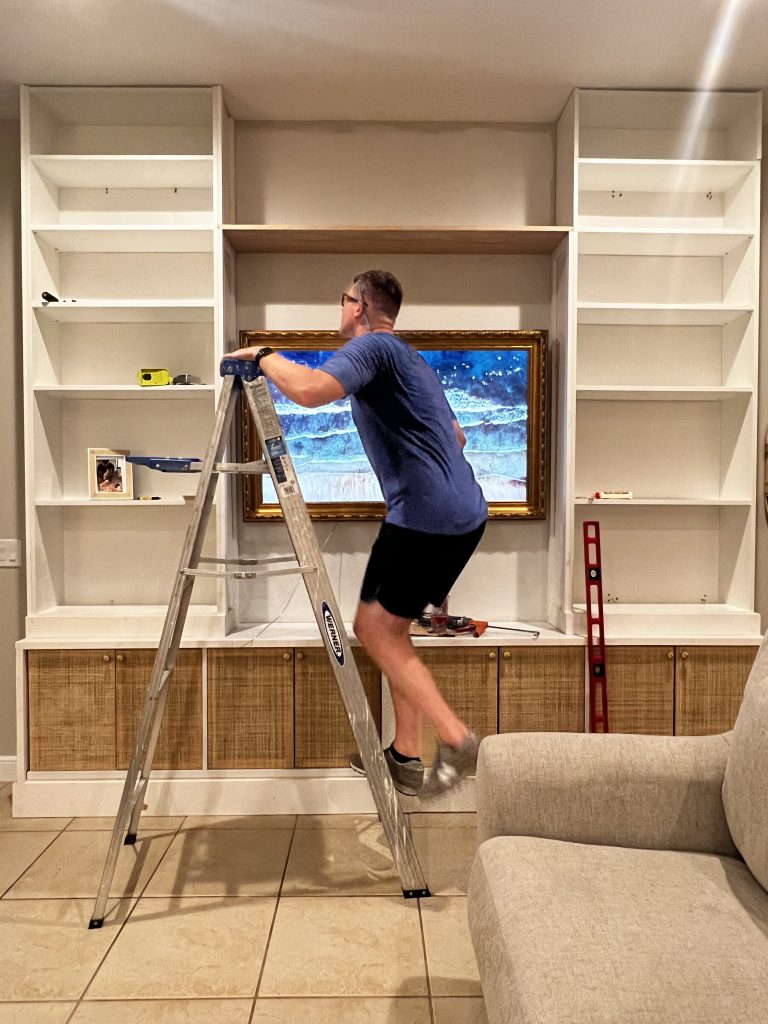
Step 6 – Add Crown Moulding to the Top
We added crown moulding straight across all three sections. This connected all three sections and I think really made it look more custom. Speaking of custom, Mike continued trimming out the bookcases on the sides by adding more picture frame moulding around it.
Step 7 – Fill Shelf Holes
The Billy bookcases have shelves that can be moved. We played with the spacing a bit, but then we committed and decided to fill in the holes with this. You can also use these hole fillers for something less permanent, but their cap will still show in each hole.
If you really wanted to move the shelves, you could also chip out the hole filler pretty easily. I think the way we did it created such a smooth finish that I would totally recommend this route.
Step 8 – Paint
Once we had all the trim installed, we decided to paint some areas of the bookcases. I suppose you could do this before installation. We went with Chantilly Lace, which was a pretty close match to the Billy Bookcases anyway.
Step 9 – Beadboard Backing for Bookcases
After we had the bookcases up, I felt like they still needed something that connected the three sections. I decided to use the Better Homes & Gardens beadboard wallpaper for the backs of the bookcases. If you’re starting this project from scratch, I’d recommend adding the beadboard to the back of the bookcase panels before you install. That would be sooo much easier than cutting out sections for each shelf!
Step 10
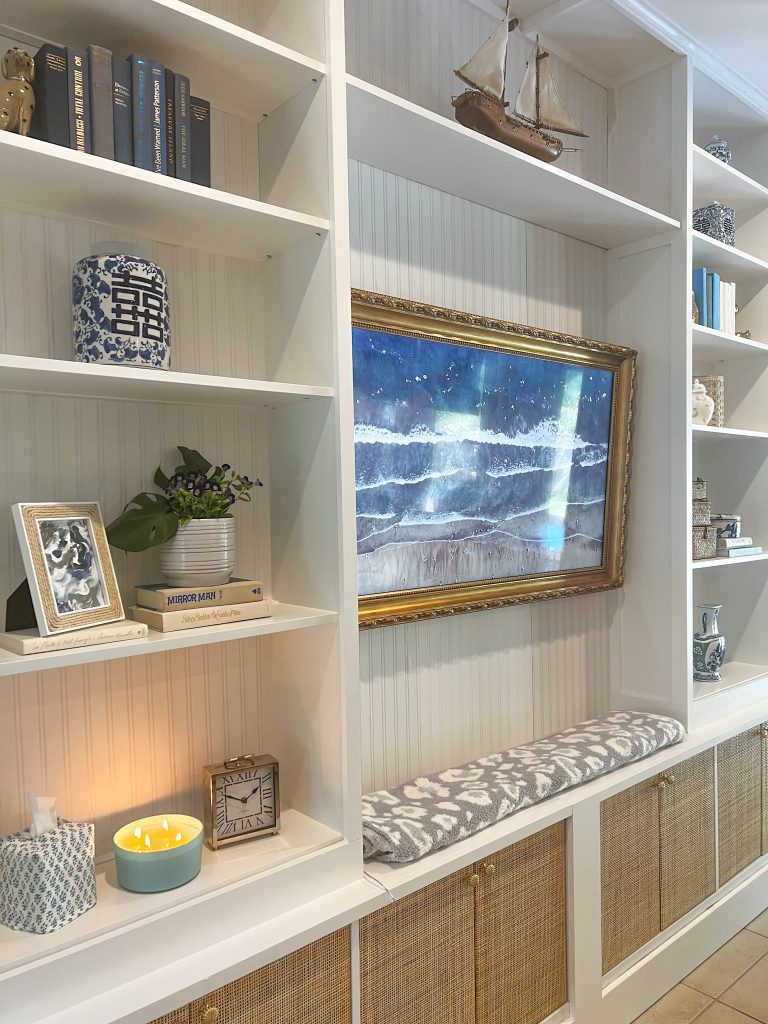
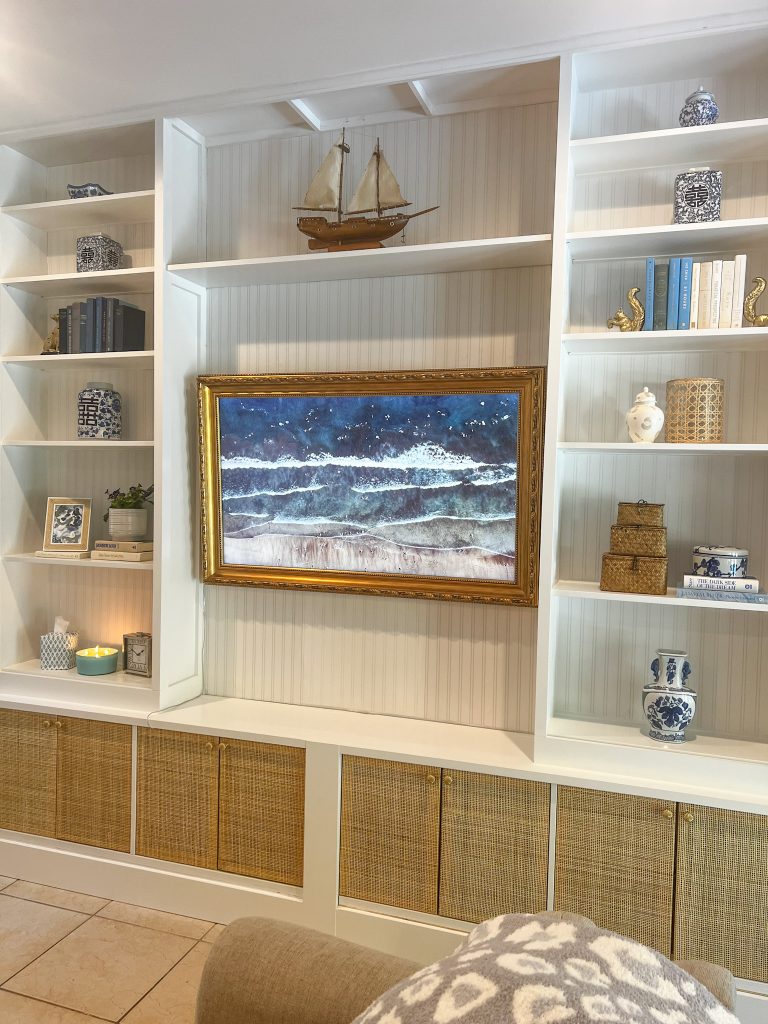
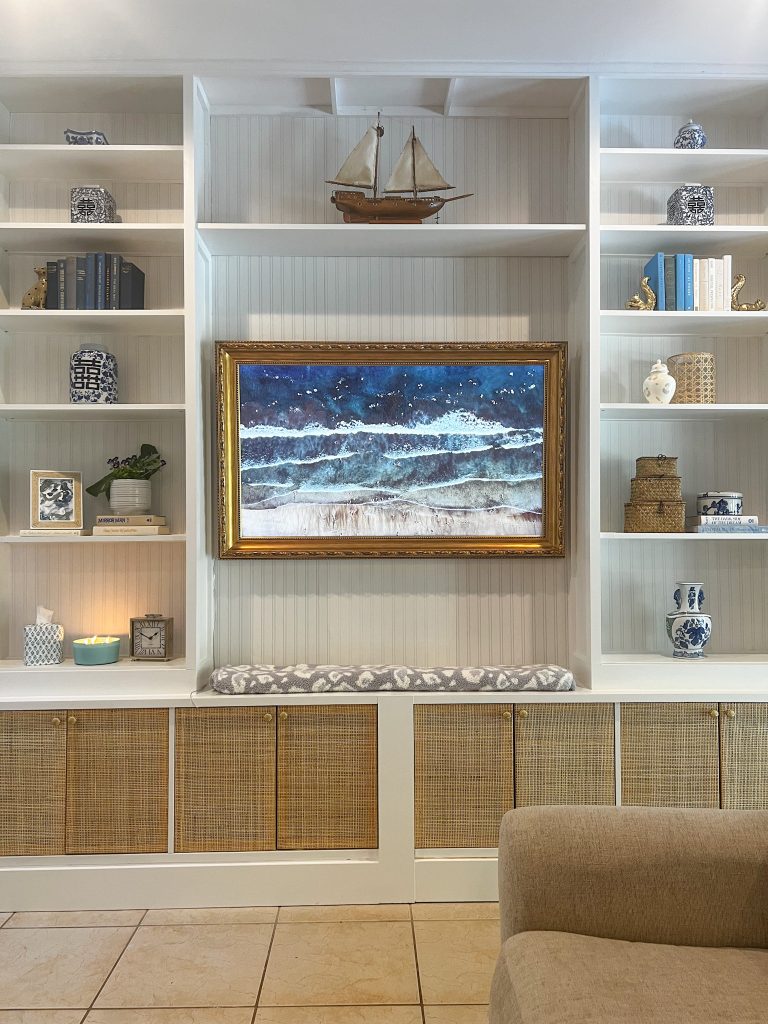
Finish off with styling! I love that the bookcases offer me a place to swap out decor and feature some of my favorite items I’ve collected. I really like these plate stands, this Better Homes and Gardens vase for fresh flowers from the yard, and a stack of color-coordinated books I got from a thrift store.
Shop my bookcase styling here!

View this post on Instagram