There’s nothing more I’d rather splurge on than some nice garden planters, but the truth is that they can be very heavy. We move a lot, so I wanted to find a way to get the look of large white, lions head planters without the weight.
Here’s how I DIYed them!
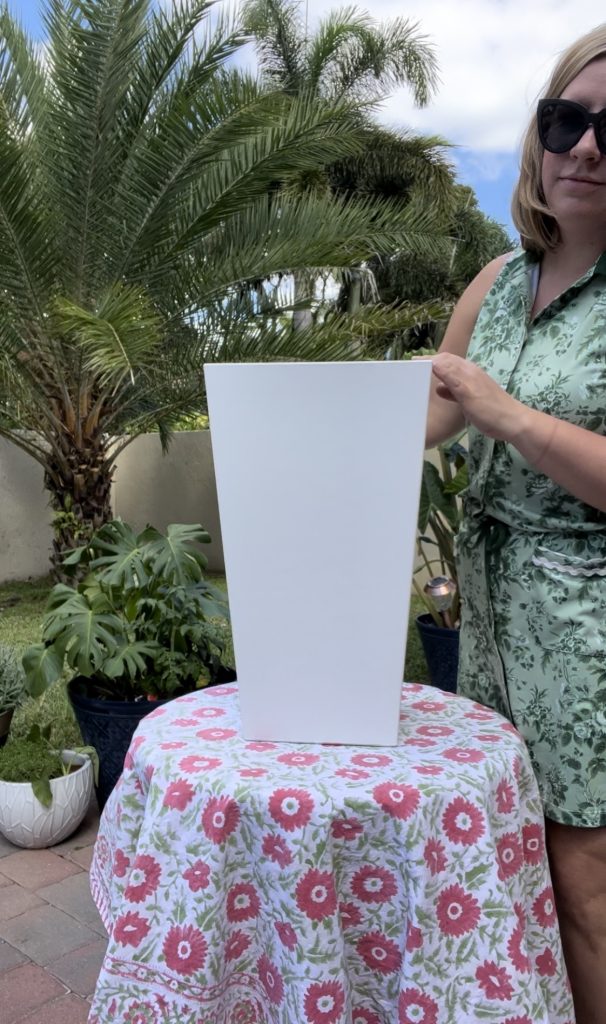
First, I found these 20″ white garden planters. You could also use a pot you have on hand. I chose white so that it matched the lions head and trim, without having to spray paint. But if you find a deal on a colored pot, I think go for it!
Then, I found this primed lions head medallion. They’re safe to use indoors or outdoors, can be glued or screwed, and were the perfect size for my planters! Look how giddy I am at the look. HAHA
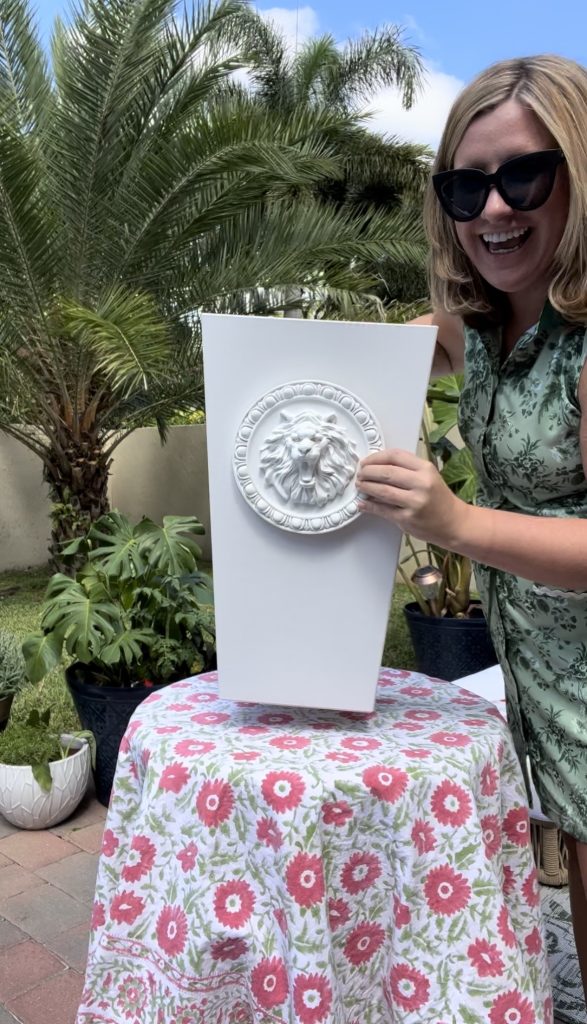
Honestly, I love that simple look too. You could just use this if you like! But of course, I have to be a little extra.
After playing around with placement, I found the placement I liked, which was about 3/4 of the way up the planter.
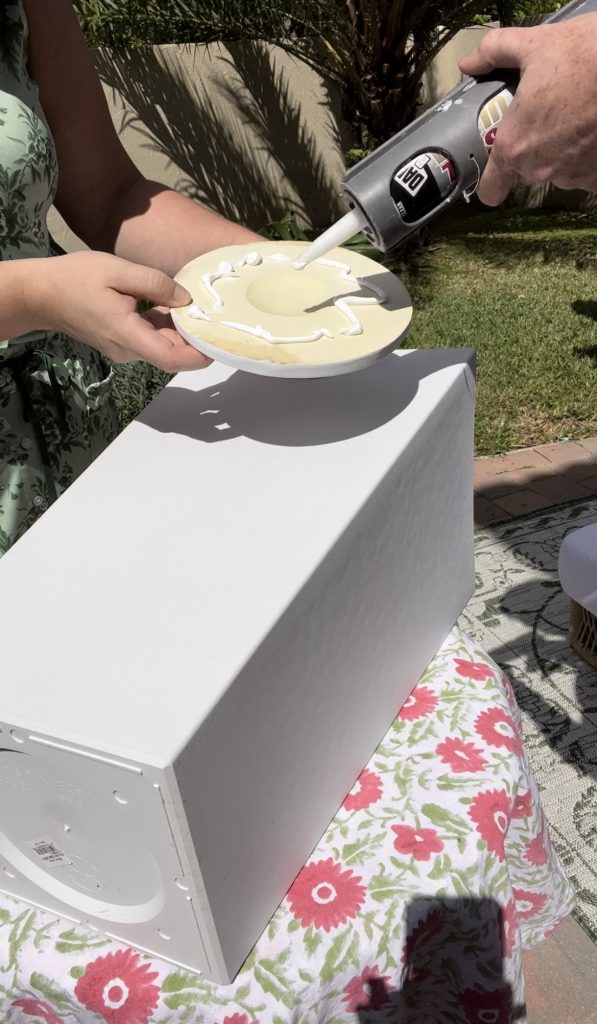
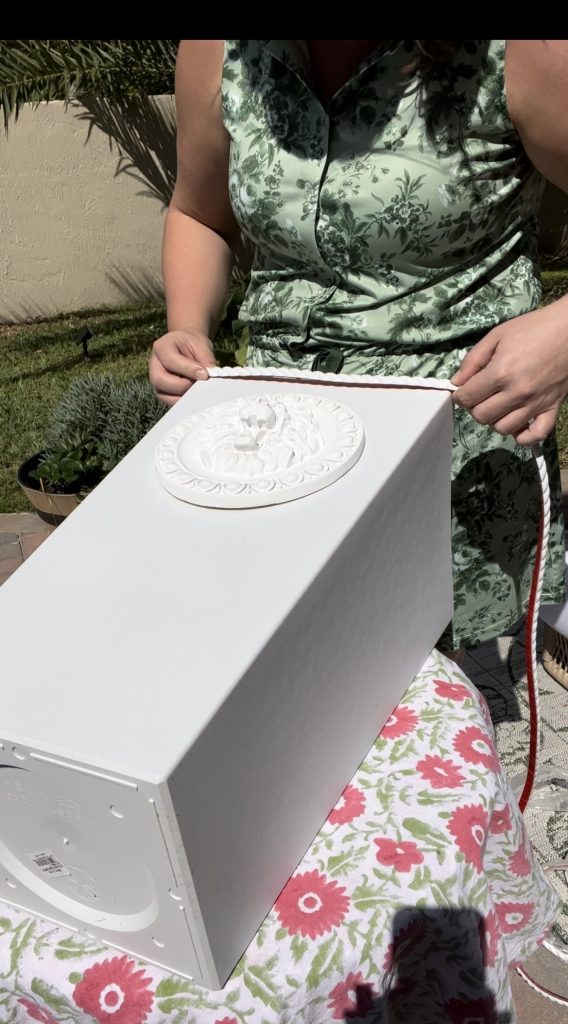
We used a silicone sealant to glued it down. We figured this would be able to withstand the moisture outside.
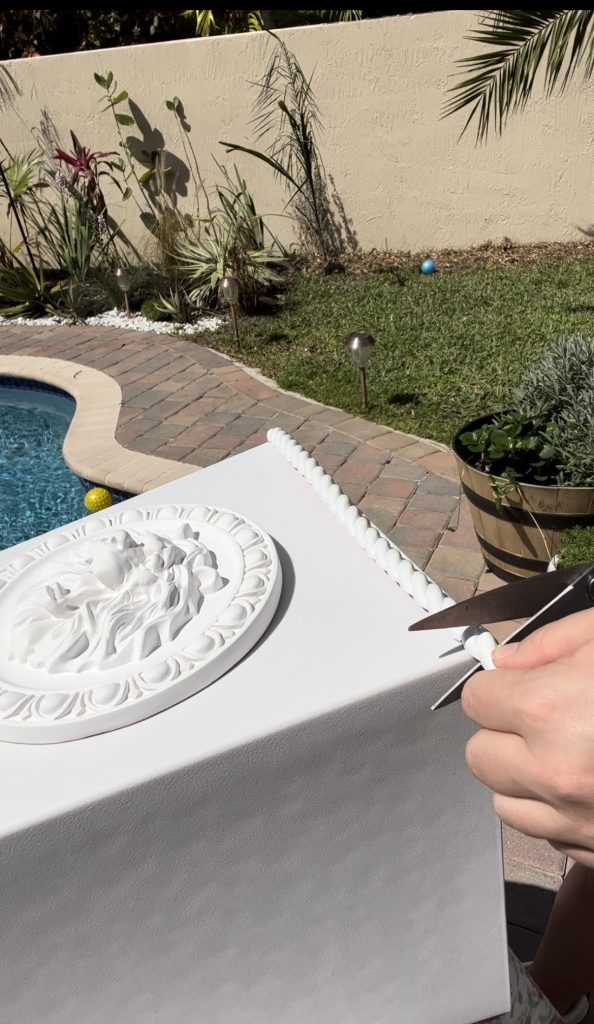
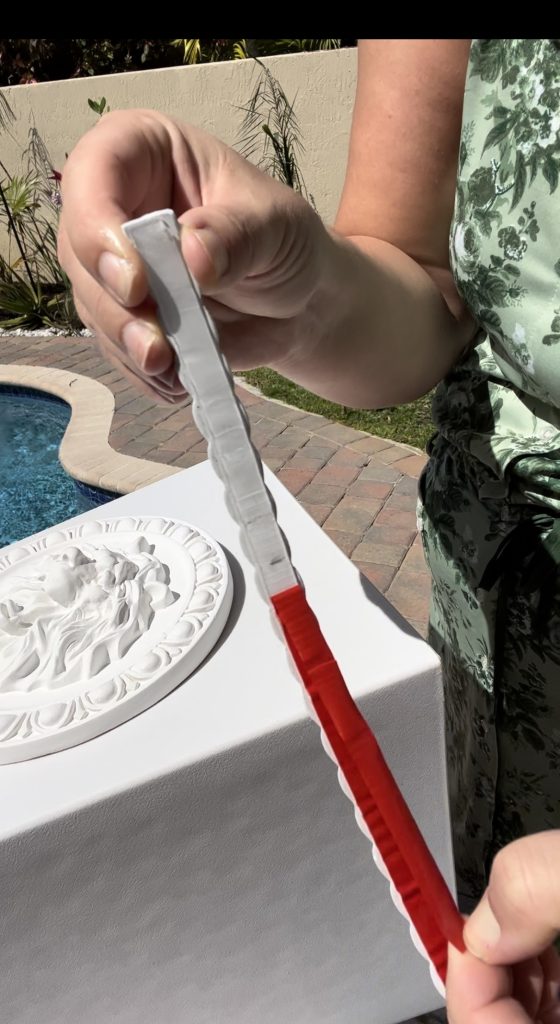
Next, it was time to add the trim. I found this rope trim that already has adhesive backing on it. This couldn’t have been easier to apply or cut (I just used scissors!). I just laid the trim on the edges and cut at the end. Then I pulled back the adhesive backing and placed it onto the planter.
I opted to wrap the entire top and bottom, and add some detail work. But I also think the top and bottom alone looks nice.
![]()
I then added a criss-cross pattern to the front. I envisioned an X going through the lions head, and that’s where I placed the trim.
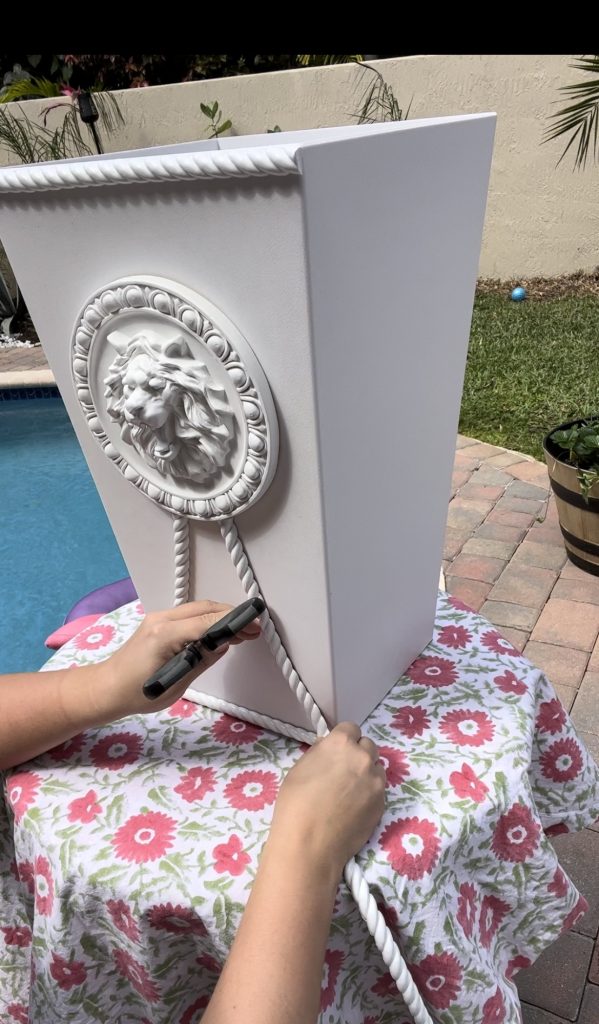
Et voila! Here’s the finished product! I still have rope leftover. I think if you didn’t do the criss-cross, you would have enough to do two planters with the rope at the top and bottom.


