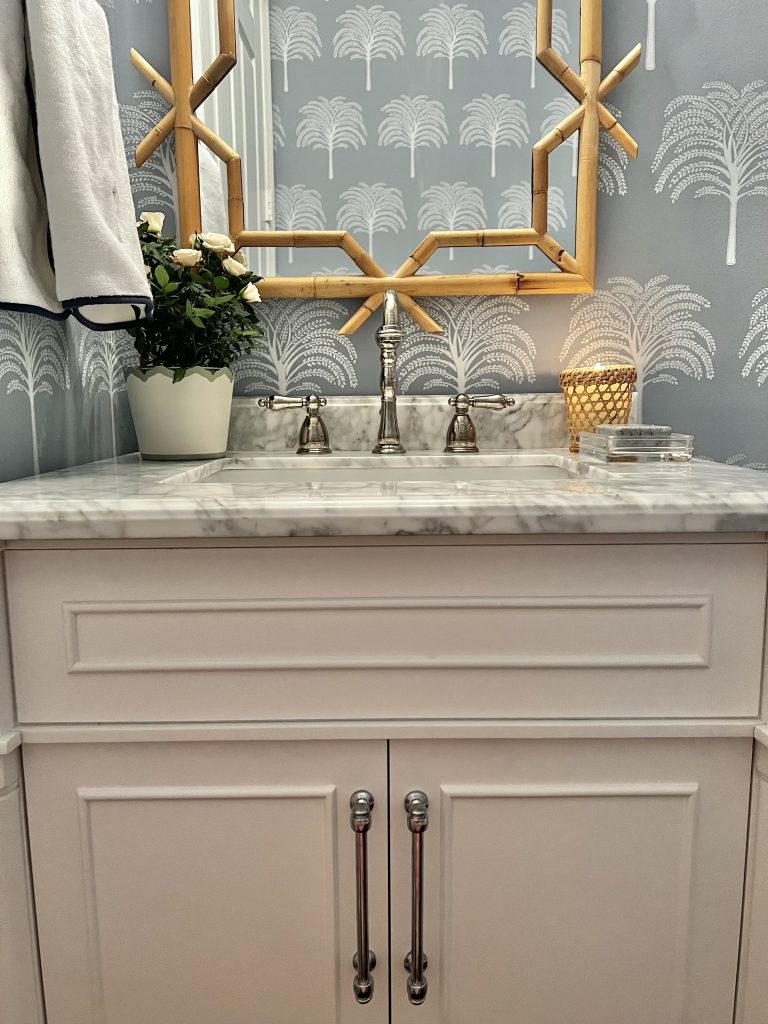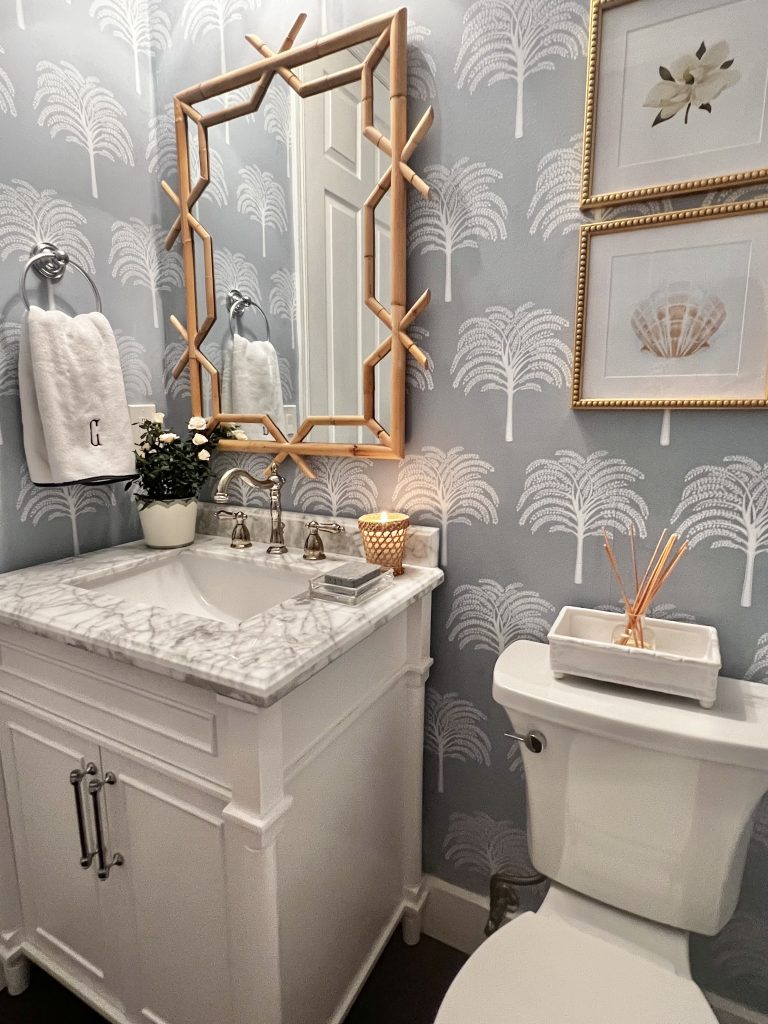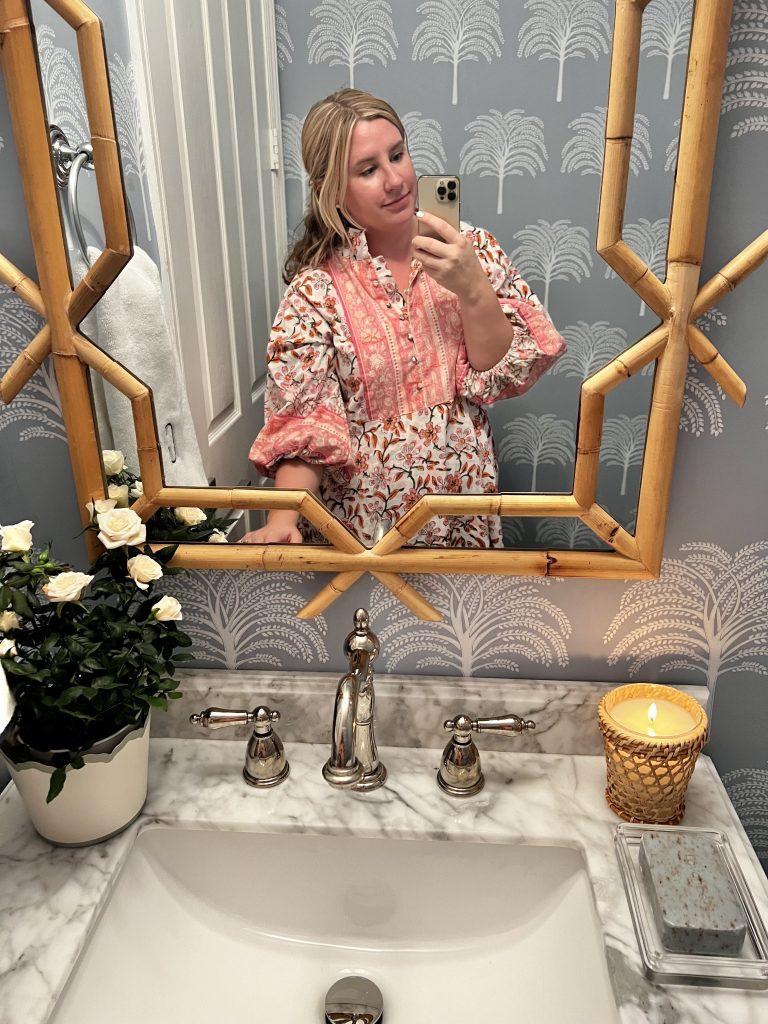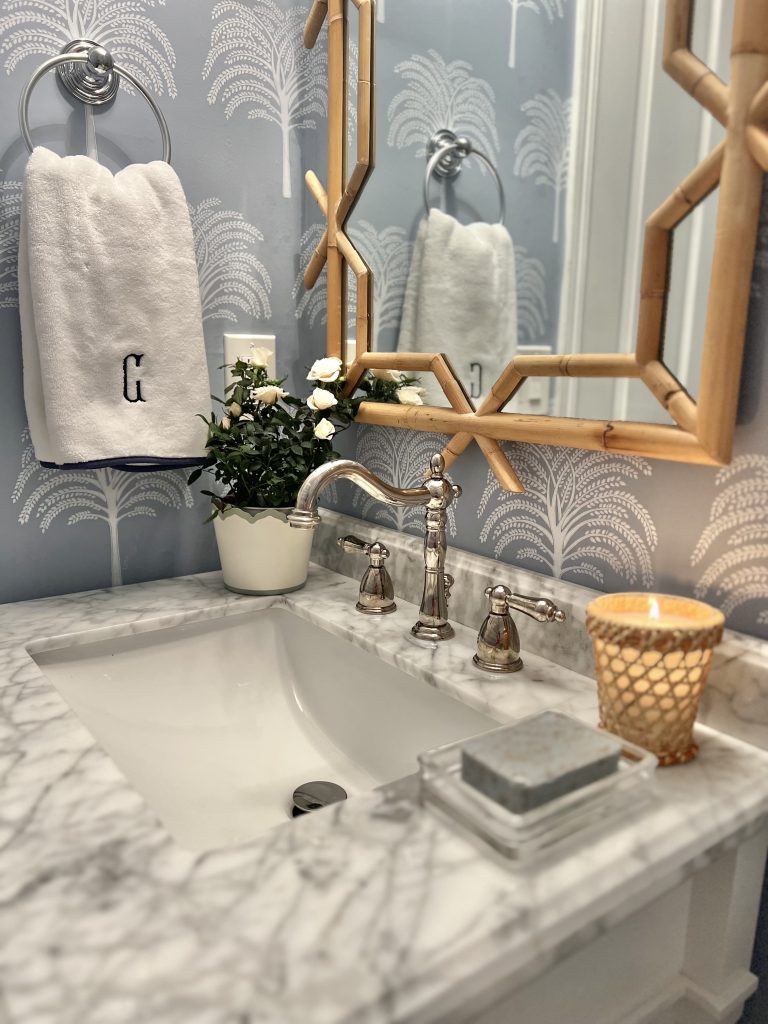
It’s done! We finished our powder bathroom renovation. This one was a major overhaul. The vanity was too small for the space. The mirror was so basic, and there was literally nothing on the walls – just drab grey paint.
We’re slowly updating our Florida builder-grade house. To see more of our room renovations, click here.
I’ve been loving the look of floors to ceiling wallpaper lately. Even though we’re probably not staying in this house long, I decided to take the plunge on REAL wallpaper. But first, we needed to learn how to hang wallpaper with paste, otherwise known as unpasted wallpaper.
(But really, I fell in love with this Serena & Lily palm wallpaper, and there was no talking me out of it).
Do I have worries that it’s really glued on there and buyers may not like it? Sure. But did we also tour a home in Miami that had a stripper pole in the bedroom? Yes. So you do you, boo. Life’s too short to wait for your long-term house to be surrounded by rooms you love.
The first thing we did was removing the tile baseboard. This wasn’t too bad, but also surprisingly difficult because they really glued it onto the walls.
Next, we removed the vanity, toilet, and mirror. This was easier than our older homes because the water turn off valves were right behind the vanity and toilet. This may be true for you too. (In Virginia, we had to go out to the street to turn off our water.)
Prepping Walls for Wallpaper
There were a few steps we had to do to prepare the walls for the wallpaper. First, we painted the walls a light blue color to match the wallpaper. This would help hide any seams that may expose over time. I had some paint from Better Homes and Gardens on hand that matched pretty well.
To prep for the wallpaper, Mike suggested we use sizing. Think of this as a primer for your wallpaper. It’s supposed to make wallpaper easier to hang AND easier to remove. It’s basically like a clear paint that dries pretty quickly. So after we painted the walls the blue, we let it dry and then painted over it with sizing.
How to Install Wallpaper
Next, it was time to install the wallpaper. We started behind the door and measured from the floor to the ceiling, adding a couple extra inches to be sure.
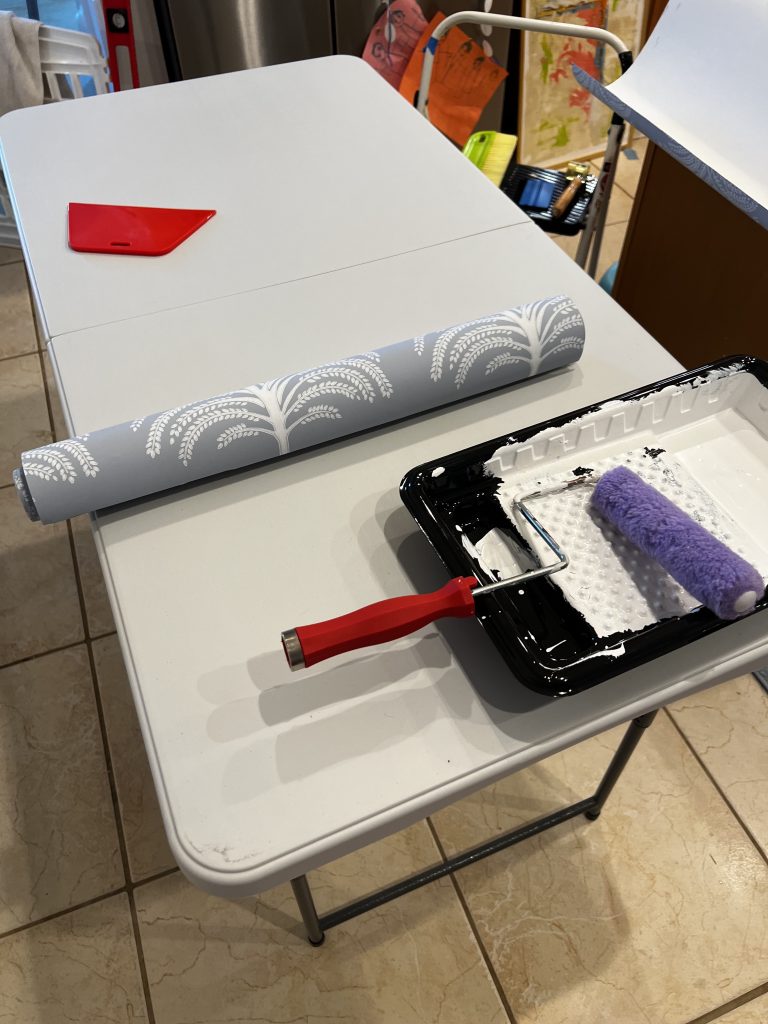
We laid out the wallpaper panel on our kitchen island, and applied this glue with a roller. Then, you “book” the ends, meaning you fold each end into the center, making the glue sides touch.

We then moved the “booked” panel to this folding table for five minutes, allowing the glue to absorb. It was handy to have a second table like this, and you could probably use two folding tables if you don’t have an island.

After five minutes, we took the panel to the bathroom, unwrapping one end and applying it to the highest part of the wall. Adding crown moulding is another great way to hide any disparities in height of the application of the panel.
We used these wallpaper application tools to smooth down the panel, working from top to bottom. The flat parts help to work out any bubbles. The seam roller is also essential to smoothing out the seams between panels.
Overall, this took about about a day to wallpaper the entire room. It really goes pretty fast, once you get into a rhythm.
We used three rolls of wallpaper for this space.
Installing the Bathroom Fixtures
Next, Mike installed the new toilet and bathroom vanity. You could call a plumber for this part, but after five bathroom renovations, we felt confident in tackling this one ourselves.
I love the vanity we chose. It has this beautiful marble top and classic lines at the bottom. We also went a little bigger than the previous vanity, which gave us more counterspace. I also think it makes the room feel bigger.
To save money, we chose to leave the light fixture hole where it was. It’s really high. I know. But with Mike being so tall, he prefers it higher so it’s not shining directly in his face. It works for us.
Without further ado….
Click the images to launch the sources 🙂