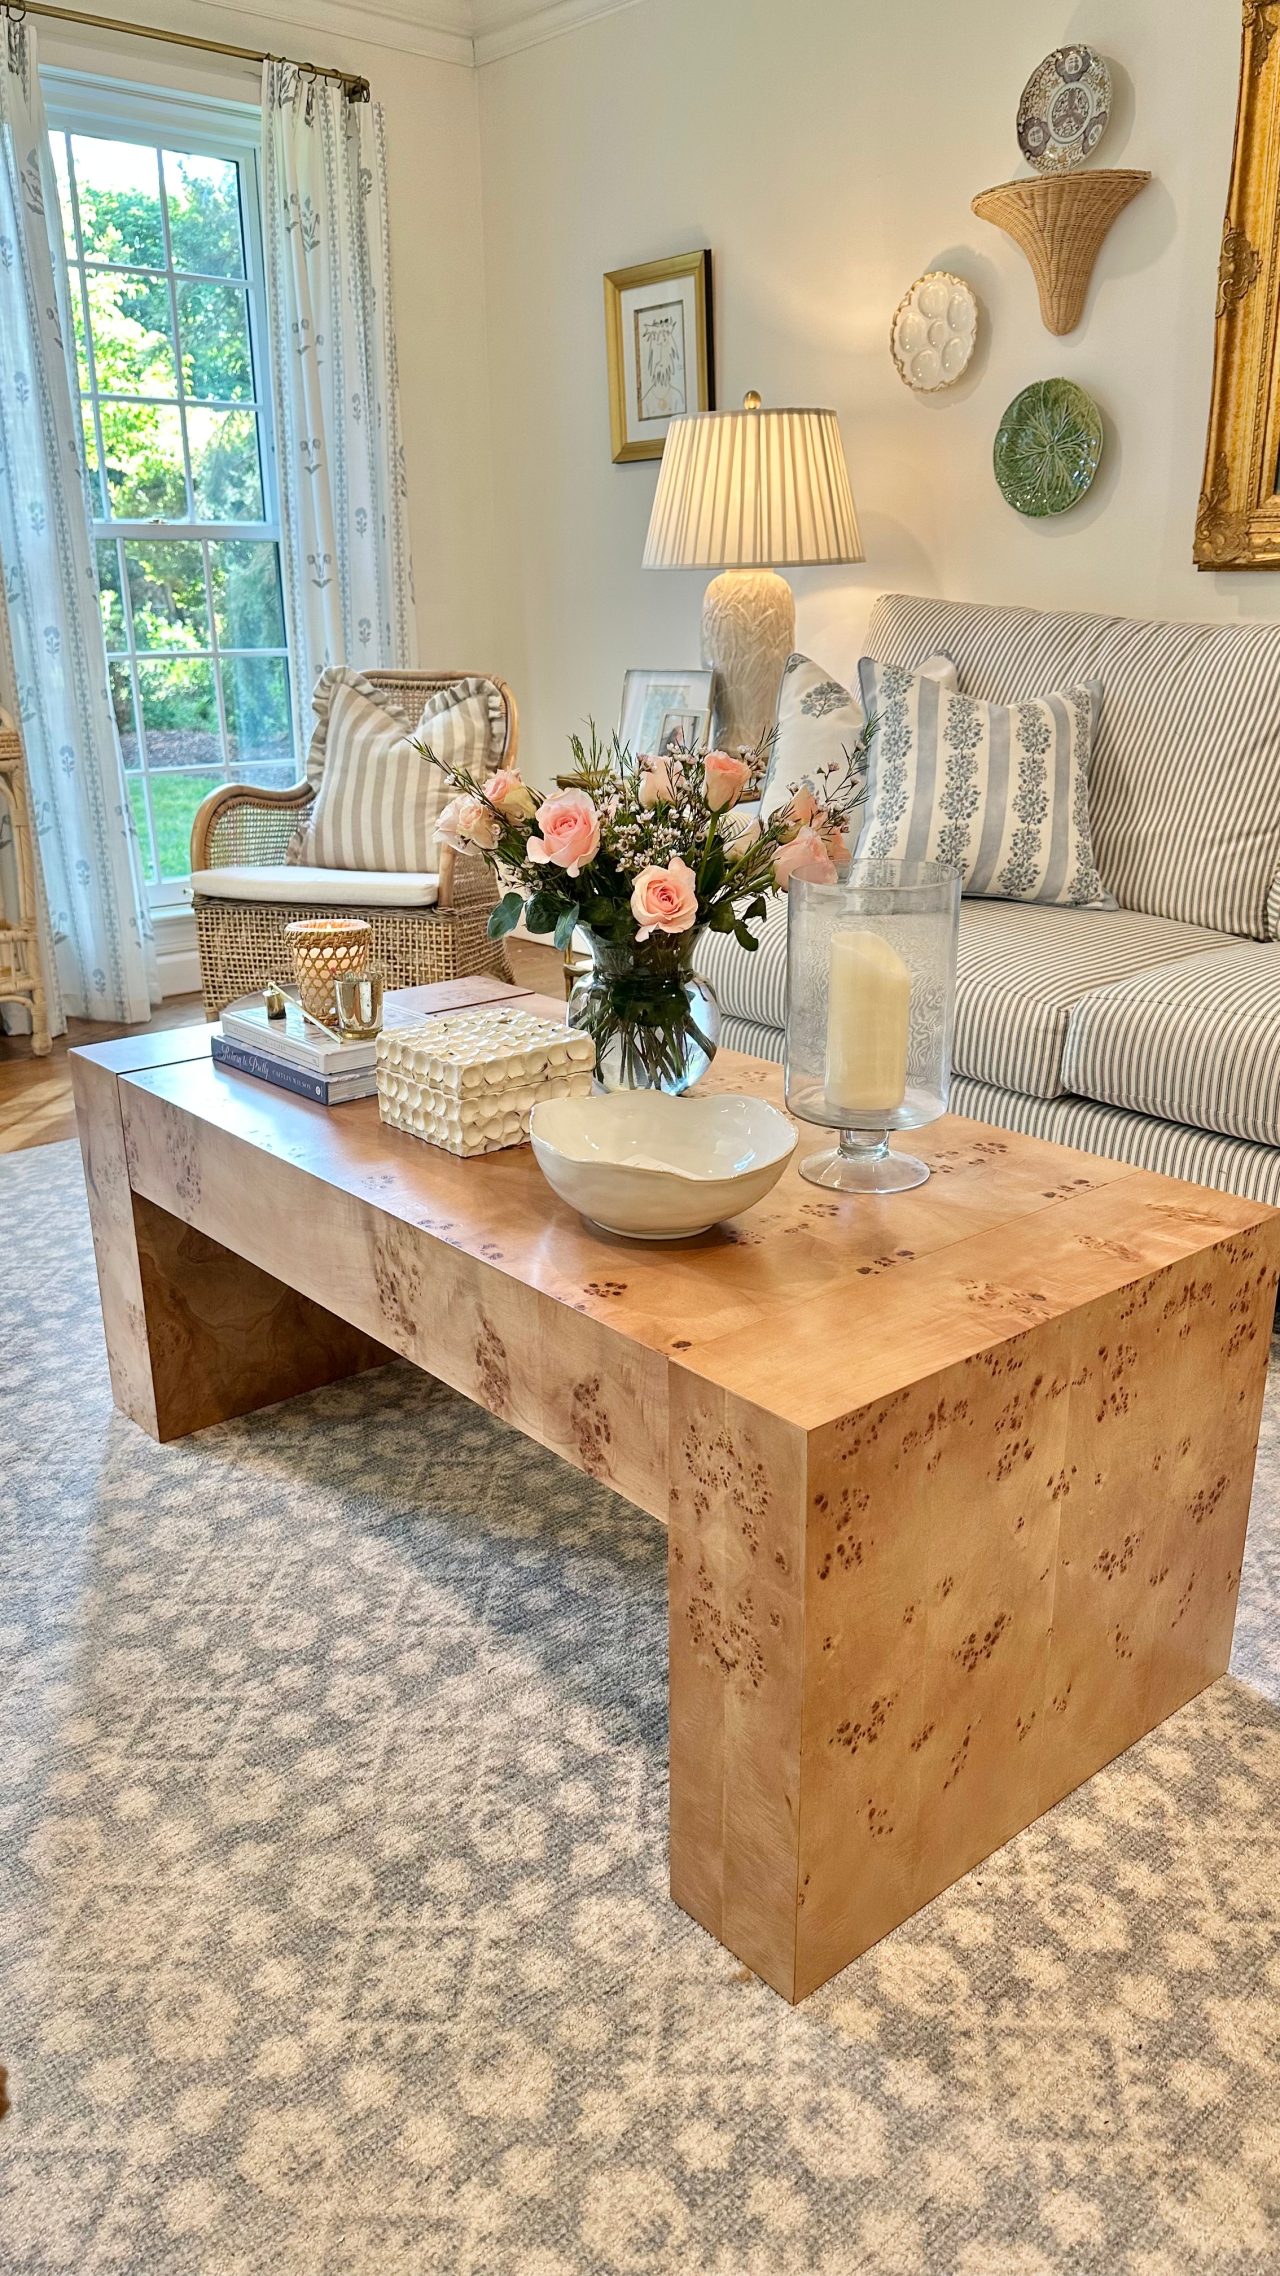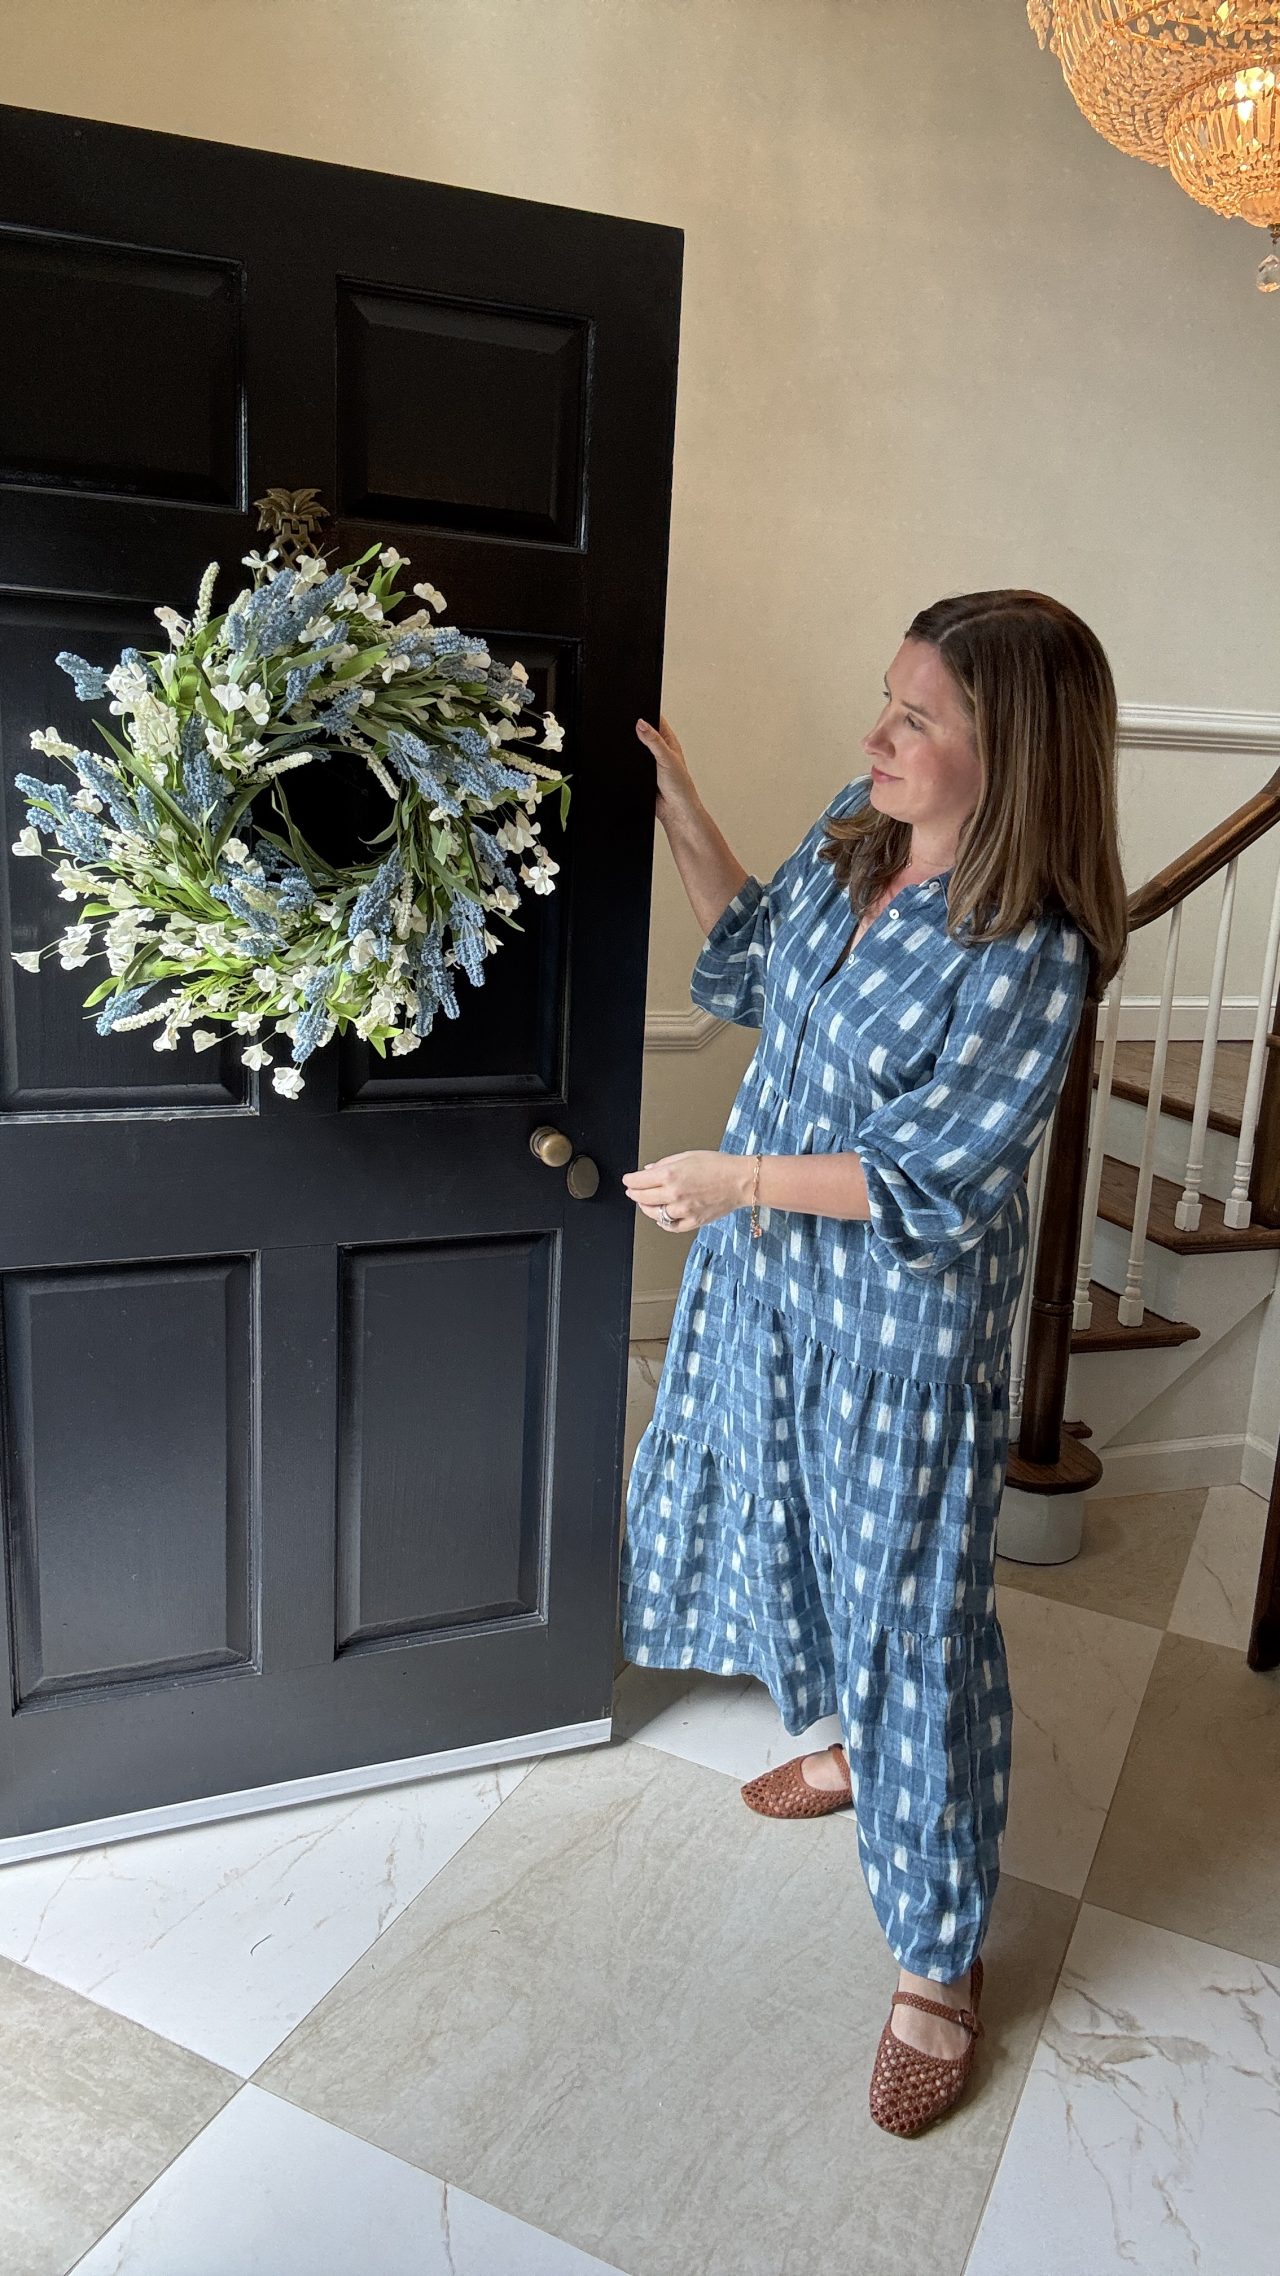
We recently listed our Florida house for sale, and while that might feel like a momentous occasion, it really feels like a small step on a long journey. We started preparing our house for sale about six months ago. Yes, six! This made it way more manageable, so today I want to share with you all the nitty gritty details of what we did to have it lookin’ so fresh and so clean.
How We Prepared to Sell Our House – 6 Months Ago
- We began discussing which of our furniture items we would take with us to our new house, which ones we’d donate, and which ones we’d try to sell on FBMP.
- We discussed which pieces of furniture we’d want out of the house before moving. For instance, our sectional was fairly new but gigantic. While it’s great for family movie nights, it made our living room feel a lot smaller than it was. We decided to give it to our neighbor right before we listed and move in a loveseat and two chairs in its place.
- We talked about what we might need to hire out as far as repairs. For us, this meant someone to trim the hedges and palm trees, lay fresh mulch (which I actually ended up doing since our person GHOSTED), fixing any electrical or upgrading any last minute lighting.
- Is your wall color neutral enough? Will you be painting it yourselves? Pick a weekend that you’ll tackle that project.
- Fix any minor repairs. That squeaky door, a screen your kid busted through, or the door that doesn’t fully close all signal to a buyer that perhaps this house wasn’t well-maintained.
- Know your home’s stats. Buyers will want to know the age of the house’s systems (AC systems, water heater, the roof, etc.)
- Make note of any upgrades you’ve completed to the home. If you have receipts, collect those into a folder. If you have any warranties or pest contracts, put those into the file as well.
3 Months Out From Selling
- We started scouting the housing marketing and seeing what comps were on the market. We also discussed which realtors we wanted to interview and set up appointments with to discuss how they would price the house, any improvements they would suggest, and when they would suggest listing the house.
- We began getting serious about our donations. We like to donate to the PickUps for Breast Cancer or PickUpPlease.org which helps Veterans and other charities like the Special Olympics.
- I think this is such an important step. As someone who tends to hold onto something, one mantra that got me through the donation process was, “If I want it again, I can buy it again.” There are only a few things that I own that are really sentimental, so everything else can be purchased again in some fashion. I’m not naturally inclined to subscribe to an abundance mindset, but in doing so, I was able to let go of a lot. This also freed up our house of clutter and gave each room its own identity, which leads me to…
- Determine how you’ll want each room to be staged. We live in our homes a lot differently than how we should stage them. For us, this meant turning our lattice room back into a dining room and staging our playroom more as a home office. Once you determine each room’s identity, you can work towards decluttering and moving furniture into it that makes more sense.
- Purchase a storage unit. We’ve done this for our last two homes when selling. While I prefer to just donate if I can, if there’s anything you want to hold onto but it makes the house feel smaller (additional chairs, that extra mattress for guests you keep in the closet, your weight bench), consider getting a storage unit while you’re on the market.
Psst! You can also subscribe to my newsletter to receive my free digital checklist – How to Stage Your House for an Open House!
1 Month Out From Selling
- We narrowed down our realtor. We met with her and determined our listing date, photography date, and potential open house date.
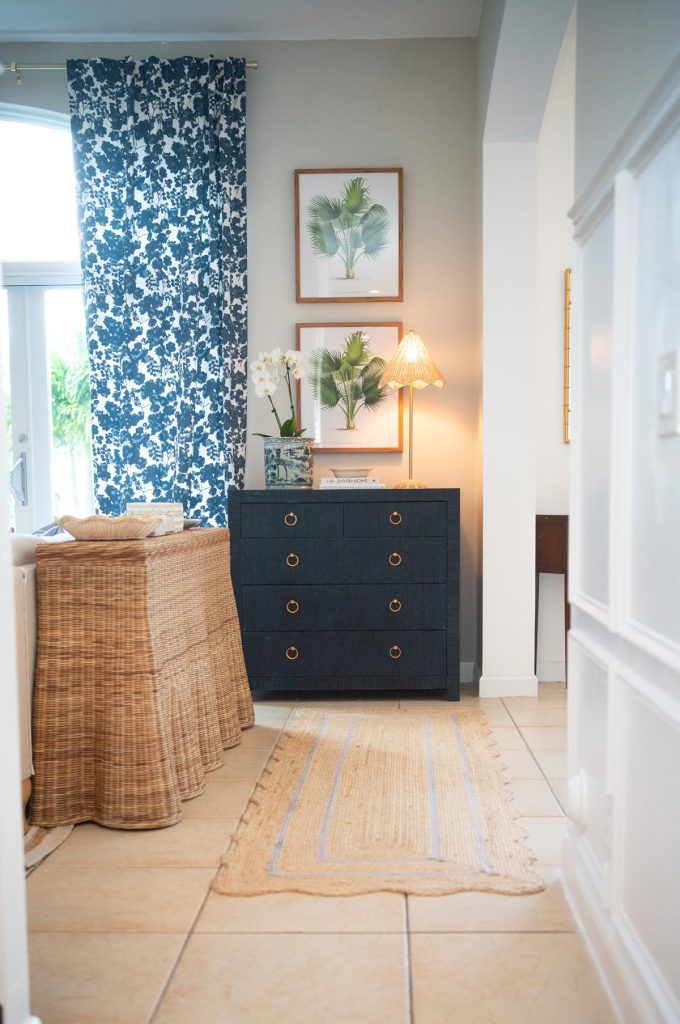
- We upped our housekeeper schedule to weekly instead of bi-weekly and gave them two weeks of cleanings before the listing went live. This was important because we removed (and moved!) so much furniture that new places saw the light of day that hadn’t in two years. Dusty baseboards were revealed, so giving them two weeks to clean new areas really helped.
- We began decluttering through donations and beginning to pack items for the move. My goal was to not have anything bigger than a football out on counters and to remove almost all of our small appliances from the kitchen by putting them in the lower cabinets.
- Examine the soft surfaces in your house, as these tend to harbor odors and show stains. You definitely don’t want either of those. It might be a good time to get some fresh, neutral bedding, replace or ditch rugs, and to possibly remove curtains. We removed our curtains in our dining room and it made it so much brighter. It also really shows off the palm trees through the window.
- Opt for lighter, smaller furniture to make our spaces feel bigger. For us, this meant swapping out our dark dining chairs for another set and giving away our giant sectional to replace it with a love seat.
- Go around your house and makes sure all your light bulbs are working. I see a light bulb that’s burned out in our listing photos, and it KILLS me because we did this but it must have burned out the day of photos.
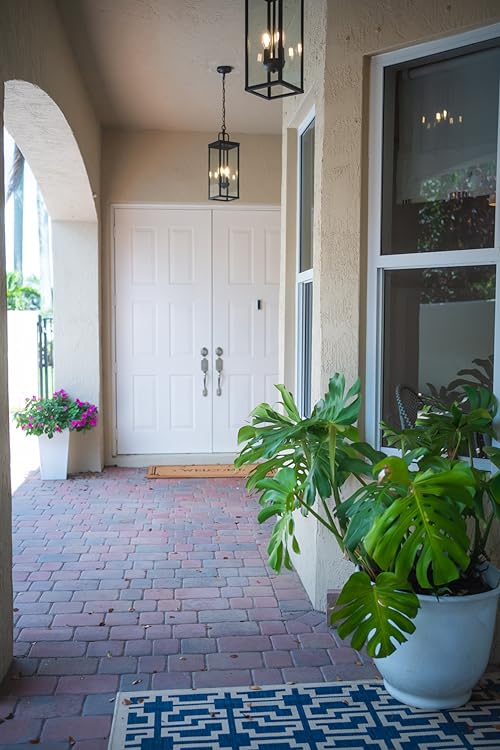
- Improve your curb appeal. We replaced our outdoor ceiling lights with these pendants. You can see them from the street, and at night, it’s such a pretty glow.
- Pressure wash your driveway, sidewalks, walkways, decks.
- Examine your outdoor furniture – Do you need new umbrellas? Is your outdoor set looking ragged? People love outdoor space, so don’t skimp on this area. Make it feel like its own room, and subconsciously, it will feel like additional square footage.
1 Week Before Listing Your House
- Weed any flowerbeds and lay new mulch. I like to wait until the last week for the mulch so that it looks fresh.
- Buy some annuals and pop them into your flower beds for fresh color.
- Redo any potted planters and trim off dead pieces from existing planters. Make everything looks fresh. Pro-tip – Use these water crystals in your planters so they don’t dry out.
- Purchase a new welcome mat for any exterior door. I love these for a wider door.
- Buy a leaf blower – It’s much quicker to blow leaves from your walkways in case you have a last-minute showing. We use this one that’s only $33.
- Replace outdoor pillows with fresh ones. Of course, I used Jillien Harbors pillows haha!
- Replace any outdoor lights that aren’t working. I love these solar lights. They’re still super bright after two years here, but they were starting to look corroded, so I got fresh ones.
- Deep clean any upholstery. I like to give everything the once over even if there aren’t any stains, because these surfaces tend to hold odors. Even if you don’t think your house has a smell, trust me, it does.
- Purge your fridge of any leftovers and pop a new Baking Soda inside to absorb odors. Also, give it a good scrub down. I also don’t like to buy a ton of pantry items a week before listing so that my pantry looks neat and organized. Those Publix BOGO deals sure are tempting, though!
- Vacuum crumbs inside of your kitchen drawers. Yes, people will open these things. I like this mini dust buster for quick clean ups.
- Cut your grass or schedule your lawn service to be completed the day before photos.
- Wash all shower curtains, bedding, towels, and blankets. Again, odors and stains. Purchase some “good” towels for hand towels. I like these and these to be a little bougie. But any fresh, white towels will do.

There you have it! Hopefully these staging and prep tips help if you’re thinking about listing your house for sale. You can also subscribe to my newsletter to receive my free digital checklist – How to Stage Your House for an Open House!