If you’ve ever walked into a room with a mural, you know how it can really take your breath away. I’ve been spending the past year looking at samples of mural wallpaper, trying to find the perfect one for our Williamsburg, VA home. I wanted something that felt peaceful and native to the area.
In this blog post, I’m going to take you through our journey of choosing, ordering, and prepping to install mural wallpaper in our dining room. Whether you’re considering mural wallpaper for the first time or you’re a seasoned DIY enthusiast, this guide will help you navigate every step of the process.


1. Researching and Ordering Samples
Before committing to a full mural wallpaper installation, the very first step is to research the different designs available. We knew we wanted a nature-inspired mural to complement the dining room’s classic colonial vibe, but the options were overwhelming. We started by browsing various online wallpaper stores, searching for designs that matched our vision.
A crucial step at this stage is to order wallpaper samples. Don’t skip this step! Samples are a game-changer when you’re choosing the right design. Wallpaper can look entirely different once it’s in your space, and lighting plays a significant role in how the design appears. We ordered several samples of different mural designs, but most of ours were landscape designs.
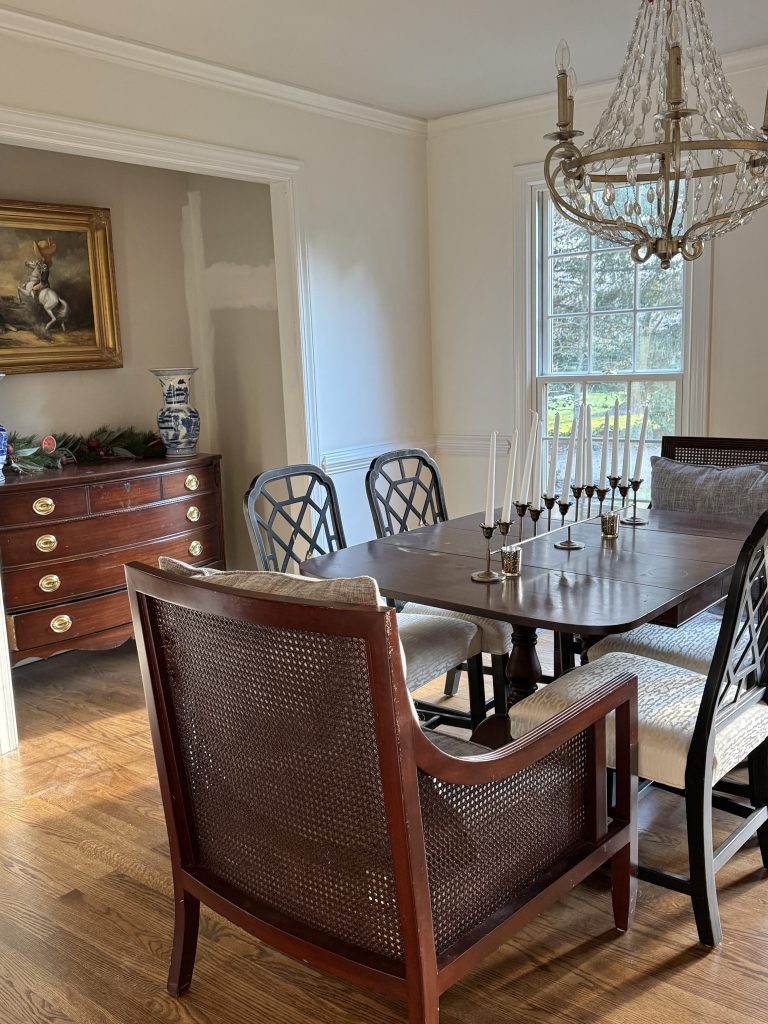
The samples arrived in a few days, and we could finally see how the colors and textures looked in our dining room. The lighting in our dining room is soft and natural, so we were able to see how each design interacted with the light.
2. Choose Your Wallpaper Texture
Wallpaper textures can significantly impact the look and feel of a mural in your space. There are several options to choose from, such as smooth, textured, or woven. Some shops even have designs that mimic an artist’s paint brush, making the mural look like it was painted directly on your wall. The texture of the wallpaper you choose can affect how the mural appears once it’s hung.
For our dining room, we chose a traditional, non-woven mural wallpaper with a pastoral pattern that reminded us of vineyards near Charlottesville, VA. You can shop it here. Up close, you don’t see any brush strokes or woven texture.
3. Peel and Stick or Traditional Wallpaper?
Once you’ve decided on your design and texture, it’s time to choose the application method: peel-and-stick or traditional paste-based wallpaper. Both options have their pros and cons, so it’s important to choose the one that fits your skill level, budget, and installation needs.
We opted for traditional wallpaper because we don’t intend to take this down anytime soon and find it easier to hang than peel-and-stick. Our supplier does make peel-and-stick, too, if that’s more your speed!
4. Pre-Cut or Full Panels?
Wallpaper murals come in two primary formats: pre-cut panels or full, uncut rolls. Pre-cut panels are printed in sections that are easy to install, which makes the installation process faster and more straightforward. Full panels, on the other hand, need to be measured and cut before installation.
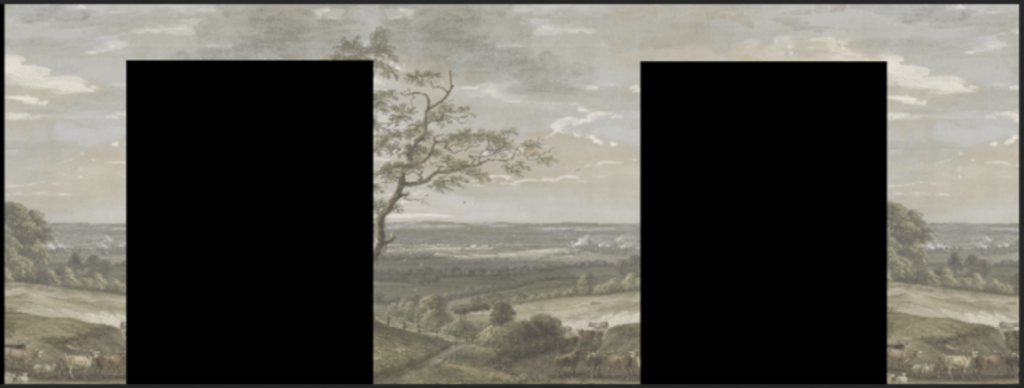
We went with pre-cut panels for our mural. This choice made the process much easier and less intimidating. Each panel was carefully printed to match the exact size and design needed for our wall dimensions. To do so, I created a mock up of each wall in Canva and sent it to the designer. It looked like this;

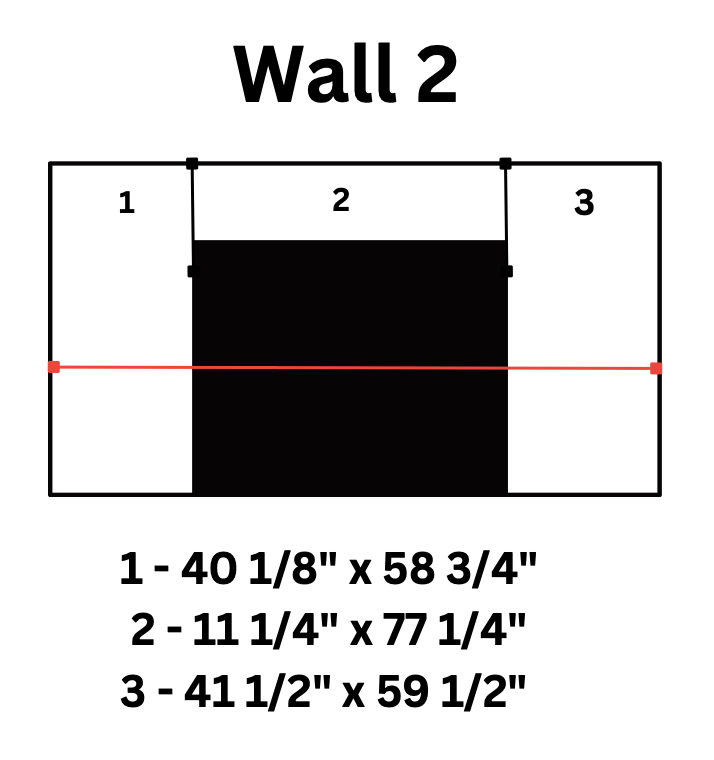


The red line is our chair rail around the room, and the black rectangles are doors or windows.
If you choose full rolls, you’ll need to cut them according to your wall’s measurements, which can take more time and skill. You’ll also be paying for unusable wallpaper that you cut out, so I think it’s best to do pre-cut panels. Be sure to measure carefully and give yourself extra time if you’re going this route.
5. Measuring and Measuring Again
One of the most critical steps in the entire process is measuring your walls accurately. There’s nothing worse than getting your beautiful mural and realizing it doesn’t fit properly. Trust me—don’t skip this step!
We used a laser measuring tool to ensure precise measurements. Start by measuring the width and height of each wall you plan to cover with the mural. If you have any windows, doors, or other obstacles, be sure to factor these into your measurements as well. It’s essential to measure multiple times to avoid errors, and it’s always better to overestimate rather than underestimate.
Once you have your wall dimensions, make note of them and keep them handy for the next steps. This is also the point where you’ll decide if you want to trim the mural design or make adjustments to fit your space perfectly.
6. Designing the Layout of the Wallpaper
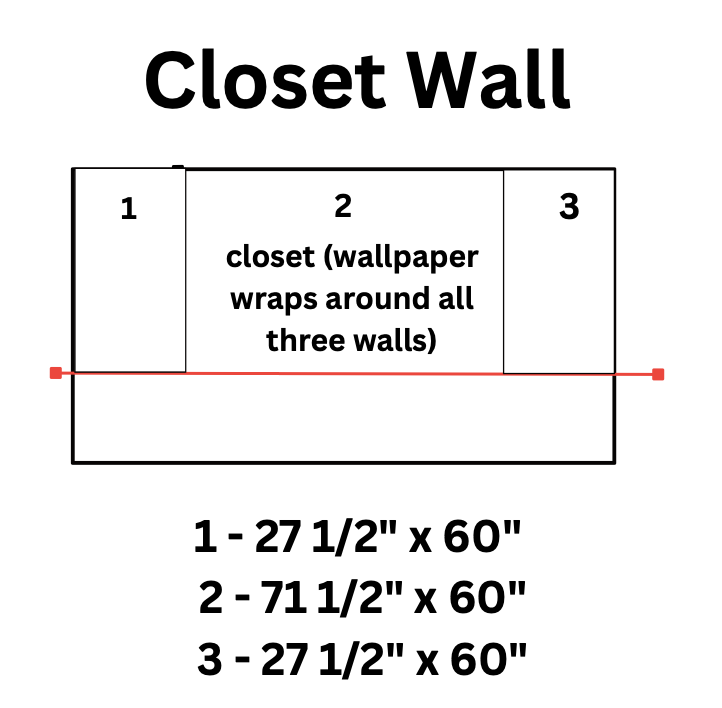
Once you have your measurements, mock up the room like I did in Canva, using lines, rectangles, and the text editor tool. You may also be able to freehand this step, too, if you’re neat :). Send them to the designer for review.
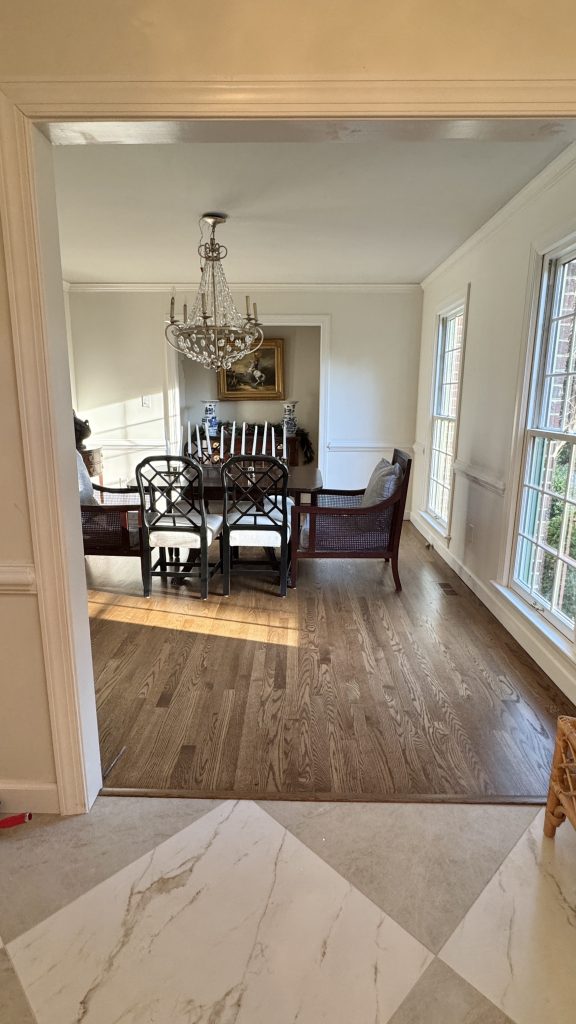
I also sent along photos of the room so the designer could see the space in real life. We have an open closet in our room that we wanted the mural to cover as well. That was tricky because we needed the mural to continue, even though the closet didn’t go all the way to the ceiling. Our designer had a great suggestion to just match the back wall, and I think that was the best call.
7. Placing Your Order for Mural Wallpaper
Our designer sent back a mock up of the wallpaper design over our pre-cut panel layout. Once we were confident in our design layout, it was time to place our order. Make sure to double-check your wall measurements one last time and confirm that your mural panels are sized correctly. At this stage, we also selected the option to have the wallpaper printed on traditional, non-woven wallpaper.
Ordering the wallpaper is an exciting moment because it means the project is officially underway! Most online mural wallpaper stores will provide you with a timeline for when your mural will arrive. Ours arrived within two weeks, and the packaging was carefully done to ensure the panels stayed in perfect condition during transit.

8. Unroll Your Wallpaper and Match It Up to the Designer’s Mock-Up
When our mural arrived, we couldn’t wait to get started. We unrolled the panels, and the design looked even more stunning in person. We were eager to see how it would come together on the wall.
Before beginning the installation, we referenced our Canva mock-up. It helped us understand exactly how each panel should be positioned. Even though the panels were numbered, it didn’t match our mock-up, so it must have been an internal numbering system for the designer.
So we spent today going through each panel and matching it to its location on the wall. We tried to use painter’s tape to tape it to the wall, but it was too heavy, so we instead added our own notes on the back to “place” it.
I think this step is important because you don’t want to begin installing your pieces one by one to only find out that you accidentally put a section on the wrong part of the wall. Because it’s a mural, it all needs to flow correctly.
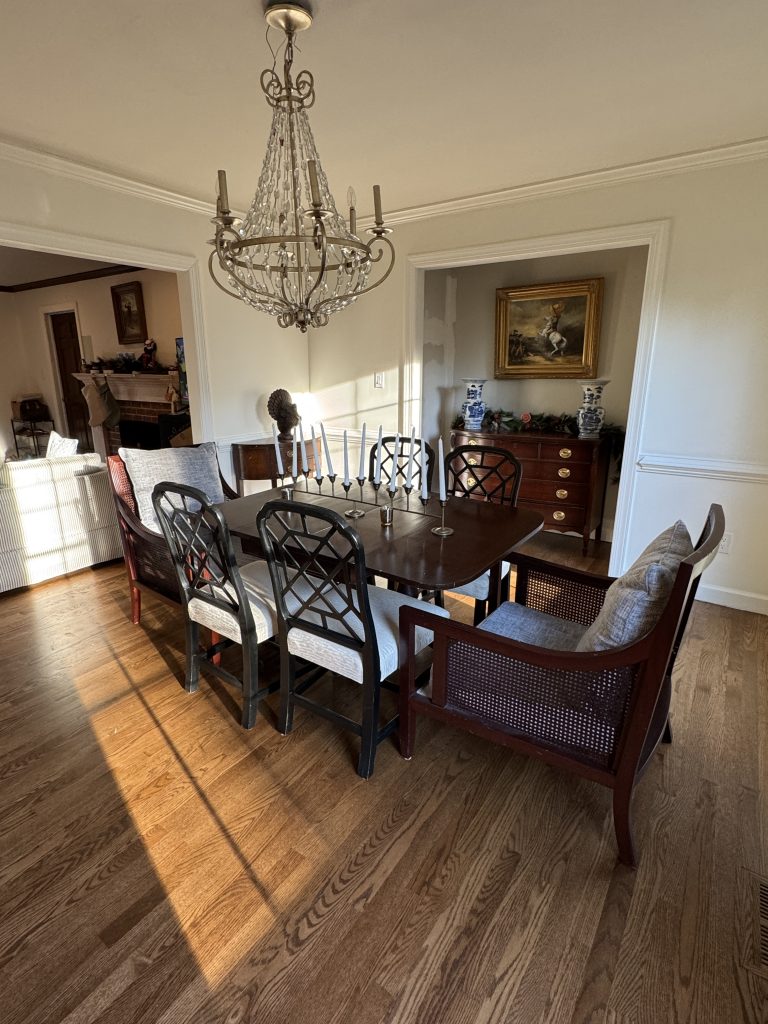
Stay tuned – We’ll be installing it tomorrow, and soon our new dining room table will arrive. I’m also on the hunt for new dining room chairs, so this room will definitely be getting a transformation over the next few weeks.
Happy wallpapering –
Jill


